Kitchen splashback ideas, materials and costs
What kitchen splashback ideas actually work in Australia in 2026: tile, glass, slab and stone, real cost ranges, and the gas-clearance rules behind them.
You are standing in a tile showroom with a benchtop sample in one hand and a phone full of Pinterest photos in the other, trying to picture the splashback against the rest of the kitchen, and nothing on the wall in front of you looks quite right. The shortlist keeps shifting. The wall behind the cooktop has its own rules nobody talked you through. The slab option that ten of your saves are showing has been banned since 2024. And the white subway tile your builder keeps suggesting is the look 2026 designers are quietly removing.
This is the long answer to “kitchen splashback ideas” written for a person about to spend $25,000 to $60,000 on a kitchen renovation in Australia. It covers what works in 2026 and why, every common material with its strengths and its actual installed cost, the Australian standards that govern what you can put behind a gas cooktop, the silica ban and what to specify instead, where the splashback should stop, the five mistakes that keep showing up, and the cheapest way to picture the finished kitchen before you sign anything off.
What kitchen splashback ideas look like in 2026
A lot of “kitchen splashback ideas” inspiration that still ranks on Google in 2026 is showing a 2018 kitchen: glossy white subway tile in running bond, dark contrasting grout, polished chrome tapware and a cool grey benchtop. That look defined a decade of Australian renovations and now reads as the showroom-finished, slightly cold end of “modern”. Showrooms in Sydney, Melbourne, Brisbane and Perth have already moved past it.
The 2026 direction across Australian kitchen designers, tile retailers, and the published trend pieces from Houzz Australia, the Kitchen and Bathroom Designers Institute, Beaumont Tiles and TileCloud is consistent in four ways.
Warm replaces cool. Soft off-whites, sand, oat, mushroom, putty, sage, terracotta, dusty blue and deep green have replaced cool greys and stark whites as the default splashback palette. The Pantone Cloud Dancer (a soft warm off-white) being named the 2026 colour of the year is one signal of the same shift running through the broader design world.
Scale and texture replace pattern busyness. Large-format porcelain (600 x 600 mm and up), porcelain slab and stone slab cover the main surfaces, with handmade tile (zellige, fluted, hand-pressed ceramic) used as a single feature behind a rangehood or on a single contained wall rather than spread across the whole splashback.
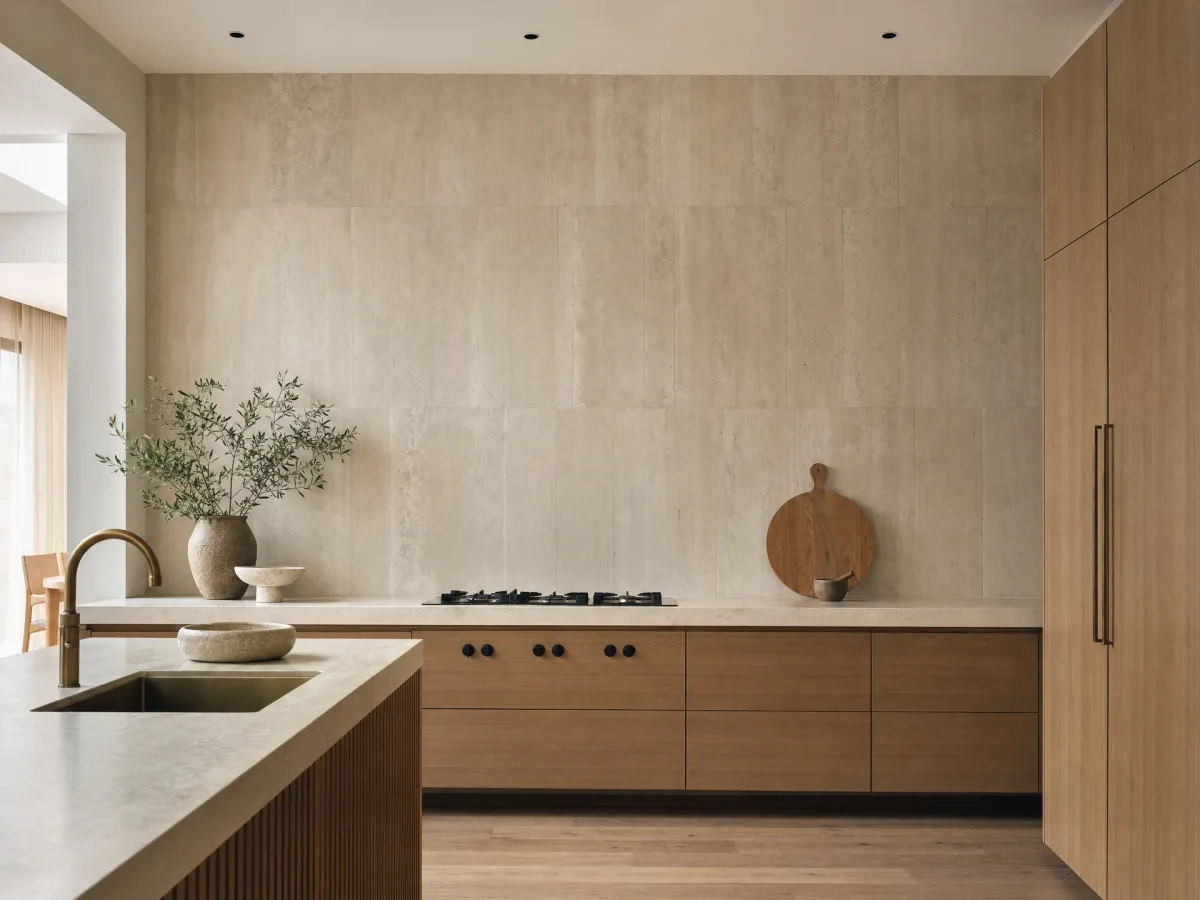
Honest materials replace shiny imitations. The high-gloss finishes that defined the 2010s (glossy white tile, glossy white melamine vanities, polished chrome, mirror-finish stainless) are giving way to matte and satin finishes that read as more material-honest. Stone-look porcelain that genuinely resembles travertine, limestone and honed marble has improved enough to sit comfortably next to real stone in mid-range kitchens.
Height climbs. The splashback running only between benchtop and the underside of the overhead cabinets is still the default on the sink and prep runs where the cabinets cover the wall, but on the cooktop wall, on rangehood walls, and on walls without overhead cabinets, full-height splashbacks running to the ceiling are now the standard mid-range spec.
The decisions in the rest of this guide work inside that direction. The reassuring part is that those decisions are also the cheapest and lowest-risk version of getting a splashback that still looks current in 2032. The 2010s kitchen is harder to age gracefully out of than the 2026 one will be.
A small note on terminology before going further: in Australia and New Zealand the standard local term is “splashback”. In North America the same wall surface is “backsplash”. Any Australian builder, tiler, cabinet maker or kitchen designer will use “splashback” by default, and US-led Pinterest inspiration that uses “backsplash” is often written to American kitchen conventions (much larger kitchens, different appliance sizes, different gas regulations) and does not always translate cleanly.
The decisions every splashback flows from
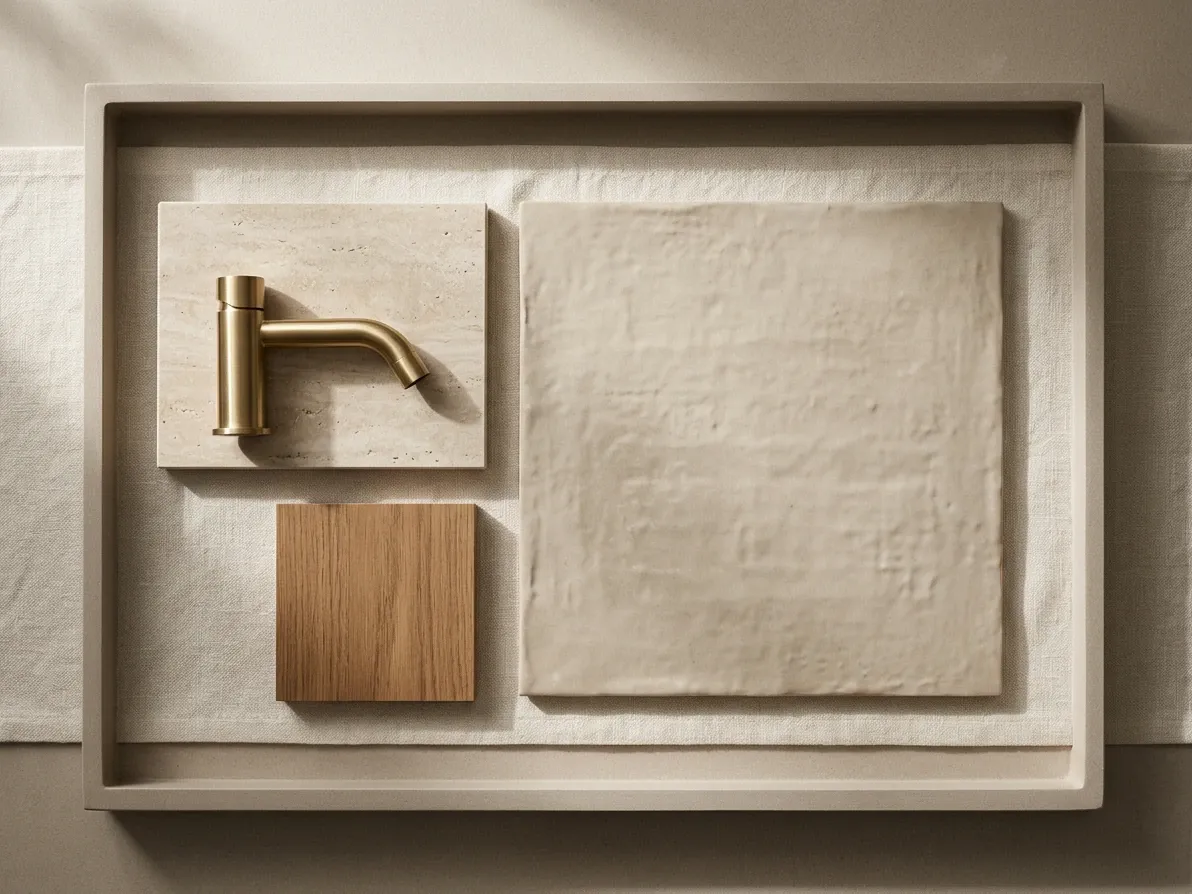
A palette board beats a tile sample held against the wall.
Walk into a tile showroom or a slab yard with no plan and you leave with a phone full of photos that do not talk to each other. The five decisions below, made in this order, produce a splashback that hangs together with the rest of the kitchen.
1. Palette
The single decision with the biggest visual impact. Three or four warm-neutral tones layered across cabinetry, benchtop, splashback, floor and tapware, with one optional accent (often a deeper green, terracotta, charcoal or warm timber) used in a confined zone like the rangehood wall or open shelving.
The trap is treating the splashback palette as a single isolated decision. The splashback talks to the benchtop directly above and below it (continuous if the benchtop runs up to form the splashback, adjacent if the splashback starts above the benchtop join), to the cabinet finish flanking it, and to the tapware metal that sits in front of it. Assemble a small physical palette board (a tile or slab sample, a 200 mm benchtop offcut, a cabinet door colour chip, a tapware finish sample) and look at it in your kitchen under the actual lighting you cook by. A warm beige porcelain that looks oat in the showroom can read pink under a builder-grade LED downlight at home.
2. Where the splashback stops
How high it runs (just to the underside of the overhead cabinets, to the ceiling, or somewhere in between), and where it stops left and right. This decision is the second biggest after palette because it changes how the wall reads as much as the tile does. The “where it stops” section later in this guide breaks the height options down properly.
3. Material
Tile, slab or panel. Each has a place and the right choice is a function of where the splashback lives (behind a gas cooktop, behind an electric or induction cooktop, on a prep run, on a feature rangehood wall), what budget you are working to, what visual weight you want, and whether the wall has a window or other constraint cutting into it. The full material-by-material breakdown is in the next section.
4. Format and pattern
Within tile, the choice between large-format and small-format, and between a plain field and a pattern. The 2026 default is large-format on the main surfaces, with small-format or pattern used as a contained feature rather than across the whole splashback. Within slab, the format choice is mostly about veining (subtle and natural versus dramatic and busy) and continuity (matching the splashback to the benchtop in the same slab, or contrasting them).
5. Grout (tile only)
The colour and the type. Match the grout colour to the lightest tone in the tile rather than picking a high-contrast one. For tile that gets hit by oil and food splatter, specify epoxy grout in the wet zone behind the cooktop and sink; it is non-porous, never needs sealing, and costs 20 to 40% more than standard cementitious grout. The grout decision is the cheapest detail to get right and the easiest to retrospectively regret. Done well, the grid disappears and the tile reads as a field; done badly, the grid is all you see.
Tile, still the default splashback
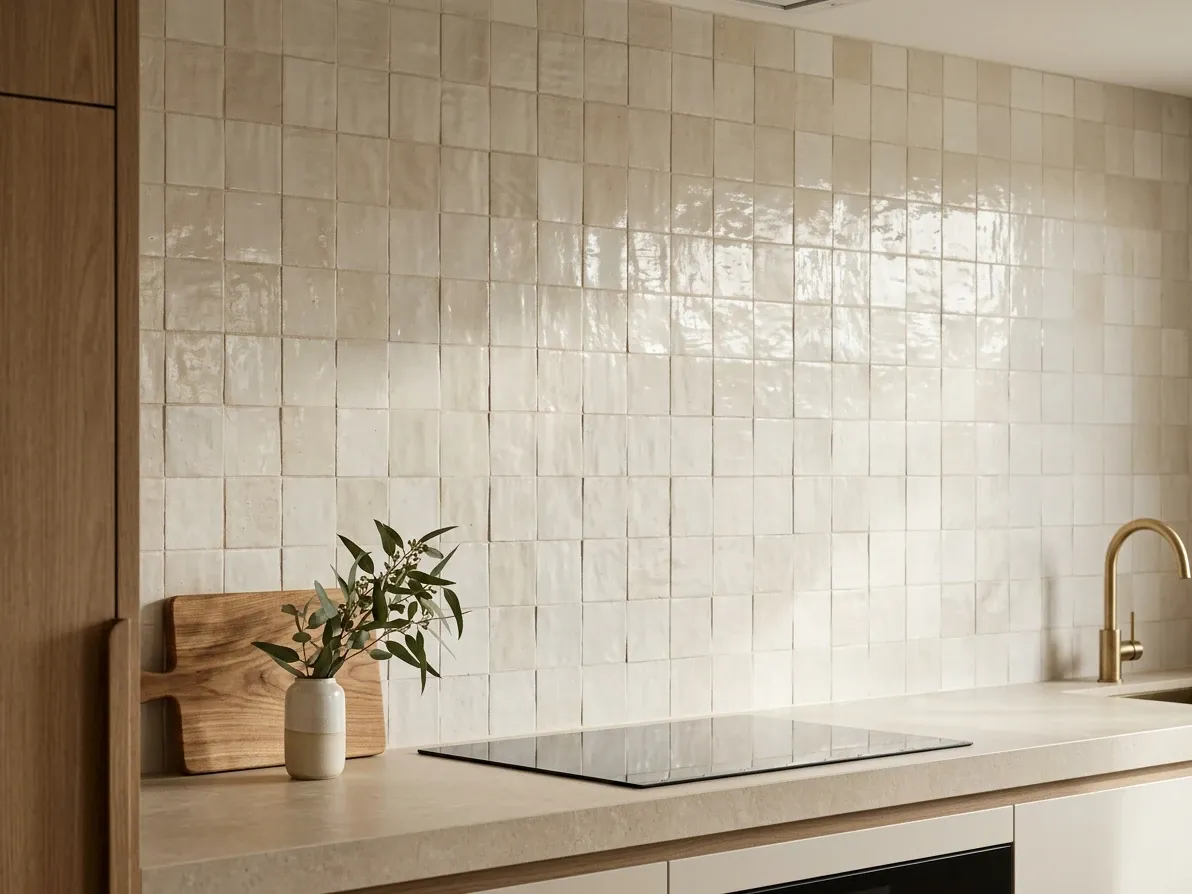
Handmade tile in a warm neutral, the strongest 2026 tile direction.
Six material categories cover almost every kitchen splashback installed in Australia in 2026, plus one material category that is banned. Tile sits at the bottom of the cost stack and the top of the popularity stack: 56% of Australian kitchen renovations specified tile for the splashback in the Houzz 2023 study, well ahead of any other material.
Ceramic and porcelain tile
The default and still the most-chosen material in Australia: 56% of splashbacks specified in the 2023 Houzz Australia Kitchen Trends Study were tile. Ceramic and porcelain are visually similar but mechanically different: porcelain is denser, harder, less porous and more impact-resistant. For a splashback, both are fine because the wall is not bearing foot traffic; the practical difference is that porcelain absorbs less than 0.5% water against ceramic’s 3 to 7%, so porcelain handles oil and grease cleaning better over a 20-year horizon and is the safer specification behind the cooktop. Australian trade prices in 2026 run roughly $45 to $80 per square metre for standard ceramic tile and $80 to $250 for porcelain, before adhesive, grout and labour.
The 2026 specification is large-format (600 x 600 mm or larger), stone-look or warm-neutral, run in a stack-bond or a single-direction layout rather than the offset brick that defined subway tile. The 600 x 1200 mm tile that has become the volume size for bathroom floors works equally well on a splashback wall when there is enough run to use the full sheet without an awkward cut.
Zellige and handmade tile
Zellige is the centuries-old Moroccan handmade clay tile that has become the dominant 2026 feature-wall specification in Australian kitchens. Each piece is hand-pressed from local clay, sun-dried, glazed and fired, which produces visible variation in shape, glaze depth and colour. The tile reads beautifully under raked light because the irregular surface catches the light differently across the day.
Zellige and hand-pressed ceramic work as a contained feature behind a rangehood, on a single open-shelving wall, or on a single cooker recess. They do not work as a whole-kitchen splashback because the variation that makes them charming on one wall reads as visual noise across a full run. Common 2026 zellige colour directions in Australia are warm white, sage green, dusty blue, terracotta, and deep clay. Australian retail pricing runs roughly $120 to $400 per square metre for the tile itself, before labour, which is higher than mass-produced ceramic because every piece is handmade.
A zellige feature requires a tiler who has installed handmade tile before. The irregularity that makes the tile work also makes it harder to lay; a tiler who treats it like a flat ceramic field will end up with one of two failure modes (the tile read as broken rather than handmade, or the grout joints fighting the natural variation).
Stone and slab splashbacks
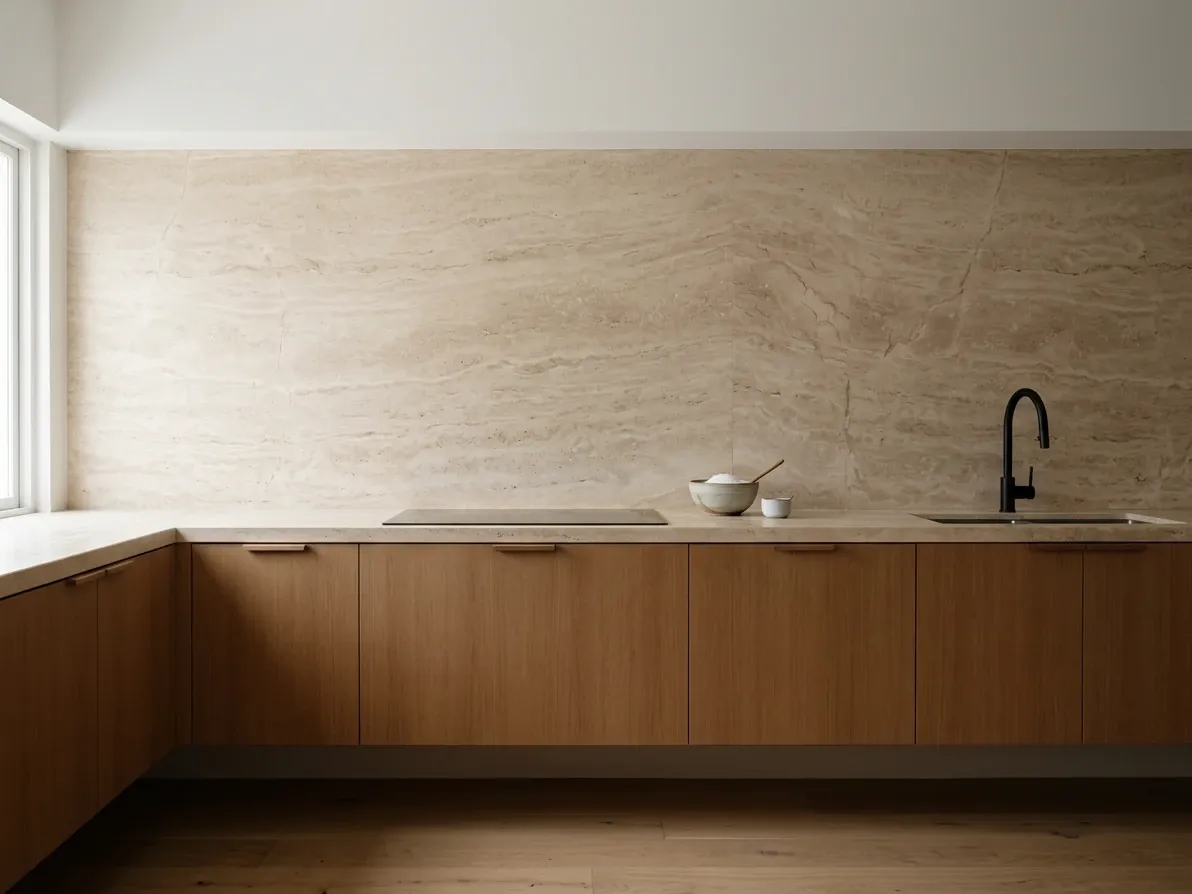
One slab from benchtop to ceiling: no grout, no joins, one continuous surface.
The category that has changed the most since 2024, because the engineered stone that used to dominate this tier is now banned. Three slab categories remain: natural stone, sintered stone, and porcelain slab. All three sit above tile on cost and below tile on the popularity stack, but they are the fastest-growing splashback category in Australian kitchens because the seamless single-surface look is the strongest visual move on the wall.
Natural stone slab: marble, granite, travertine, quartzite
Natural stone slab cut to splashback size and continued up from a stone benchtop is the high-end specification. The look is one continuous material from the benchtop face up the wall (often called a “waterfall up” or a “book-matched” slab when the veining is mirrored across the benchtop-splashback join), with no horizontal break. It reads as the calmest, most resolved version of a kitchen splashback because the eye has nowhere to stop.
Marble (Carrara, Calacatta, Statuario) is the most-searched stone for splashback work; it is also the most porous and the most demanding. Honed and sealed it is fine behind an induction or electric cooktop, but the front face of a marble splashback will pick up etches from acidic spills (lemon juice, wine, vinegar) over time. Granite is harder and more forgiving and has come back into specification in 2026 in soft warm colourways (Taj Mahal, Patagonia, soft beige) after a decade in retreat. Travertine (warm cream-to-honey, soft visible pitting) is the strongest growth slab in 2026 mid-range Australian kitchens. Quartzite (harder than granite, marble-look veining) is the practical compromise where the buyer wants the marble aesthetic without the maintenance.
Australian installed cost for stone slab splashbacks runs roughly $400 to $1,200 per square metre depending on the stone, the slab origin, the cut and the install complexity. Imported Calacatta and Statuario sit at the top of that range; domestic granite and travertine at the bottom.
Sintered stone and porcelain slab
The closest visual replacements for the engineered stone that has been banned since 2024 (see “What’s banned” below). Sintered stone (Dekton, Neolith, Laminam) is made by compressing natural minerals under high heat and pressure into a dense, through-body slab. Porcelain slab is a kiln-fired clay product manufactured in slab format (3 m by 1.5 m and similar) rather than the more familiar tile format. Both are silica-free or silica-low and sit cleanly inside the post-2024 regulations.
Sintered stone is the hardest splashback material on this list. It is more scratch, stain and heat-resistant than porcelain tile, holds colour through the body so chipped edges do not show a different substrate, and runs as a single-piece slab up the splashback wall with no grout. It can be supplied in marble-look, stone-look, plain warm-neutral, and dark monolithic finishes. Australian installed cost runs roughly $400 to $900 per square metre.
Porcelain slab is the cheaper version of the same idea (large-format, grout-free, dense and durable) at roughly $300 to $600 per square metre installed. The 2026 specification across both is matte or honed rather than gloss, in warm-neutral or marble-look. Both need an installer experienced in slab work; the slab is harder than granite and edges chip if mishandled. There is no DIY version of a slab splashback installation.
Glass, stainless and what’s banned
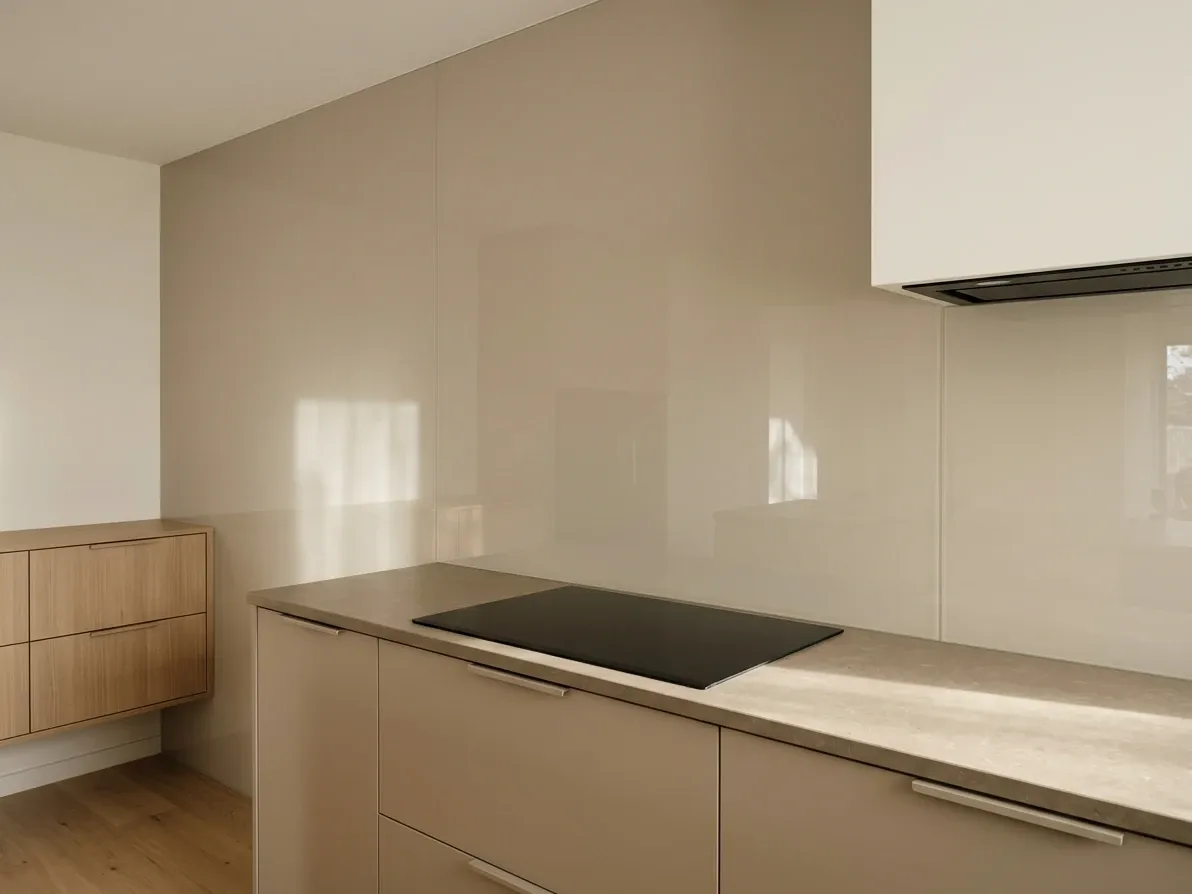
Back-painted glass: no grout, one wipe-down surface, easy to change later.
The remaining two compliant categories cover the situations where tile and slab do not fit: glass where the wipe-clean and colour-change advantages matter most, and stainless steel where the cooktop wall is the priority. Engineered stone, the high-silica composite that used to sit between glass and natural stone on cost, is the one material that is no longer available.
Glass
Back-painted toughened glass is still a strong specification, especially in Australia where 73% of cooktops sold are gas or induction (not the wall-flush electric units common in the United States) and the seamless wipe-clean surface earns its place behind a cooking burner. The glass is cut and toughened to size, painted on the back in a colour chosen from the manufacturer’s palette (or a custom colour to match a Resene, Dulux or Haymes paint), then installed with concealed fixings.
The strengths are the cleanability (no grout, no joints, no porosity), the ease of colour change later (the glass can be removed and replaced with a different colour without retiling the wall), the consistency of finish across the whole splashback, and the safety compliance behind a gas cooktop (any glass installed there must meet AS/NZS 2208 toughened safety glass and is supplied to that standard by reputable Australian fabricators). The weaknesses are the limited design vocabulary (it always reads as a solid panel of one colour), the visible green tinge on standard float glass (low-iron “ultra-clear” glass is the upgrade, about 30% more), the join visible on splashbacks longer than 2.4 m, and the cost on small jobs (the fixed setup cost makes a 1 m splashback cost almost as much as a 2 m one).
Australian installed cost runs roughly $330 to $420 per square metre for standard back-painted glass, per Canstar Australia, and $450 to $700 for low-iron or specialty finishes.
Stainless steel
Stainless steel is the commercial-kitchen specification: hard, non-porous, heat-resistant up to 850°C, and the only splashback material that can sit directly behind a gas burner with no clearance issues at all. It is also the lowest-fuss material to wipe down. The 2026 spec is brushed or satin finish rather than mirror-polished, in a deep matte stainless rather than the bright finish of a 2010 commercial fitout. It works as a quiet, professional-looking field behind a freestanding cooker or behind a single cooktop run, paired with timber-look cabinets and warm-neutral benchtops; the cool tone of stainless needs warmth around it to read as considered rather than clinical.
Australian installed cost runs around $330 per square metre per Canstar, before the cooktop-back cutout, which adds roughly $200 to $400 in fabrication. The trade-off to budget for is that it scratches and fingerprints faster than a porcelain tile or sintered slab; the satin finish hides this better than the mirror-polished version.
What’s banned: engineered stone
Engineered stone, the high-silica composite material commonly sold under brand names Caesarstone, Quantum Quartz, Essastone, Smartstone, Stone Italiana, Calabrian Quartz and similar before 2024, has been prohibited in Australia since 1 July 2024 under amendments to the model WHS Regulations. The ban covers manufacture, supply, processing and installation, and explicitly includes benchtops, panels and slabs, which means engineered stone splashbacks are inside the ban, not just kitchen benchtops. Import of new engineered stone product into Australia has been prohibited since 1 January 2025.
Safe Work Australia introduced the ban after a sharp documented rise in silicosis among the Australian workers cutting and finishing the product. Engineered stone can contain more than 90% crystalline silica, against the 10 to 45% typical for natural granite; processing the material with power tools generates fine respirable silica dust that scars lung tissue. The clinical lag means cases were still being diagnosed years after exposure. The full background and the current rules sit on the Safe Work Australia engineered stone ban page.
Two things follow from this for splashback specification in 2026.
If a kitchen company quotes you Caesarstone or any other named engineered stone for the splashback in 2026, the quote is for a banned product and the installation cannot legally proceed. The compliant replacements at the same visual price point are sintered stone (Dekton, Neolith, Laminam), porcelain slab, natural stone, and crystalline-silica-free composite (the Silestone XM range, which Cosentino now sells alongside its original engineered stone). Most reputable Australian kitchen suppliers have already moved their default specification across; the gap shows up mostly in older quotes, ex-display product, or unfamiliar contractors.
If you already have engineered stone in your kitchen from a pre-2024 renovation, you do not need to remove it. The ban does not require removal of installed product. Repair, modification or removal must be done by a qualified tradesperson trained in silica-safe handling.
Where the splashback stops, and the window question
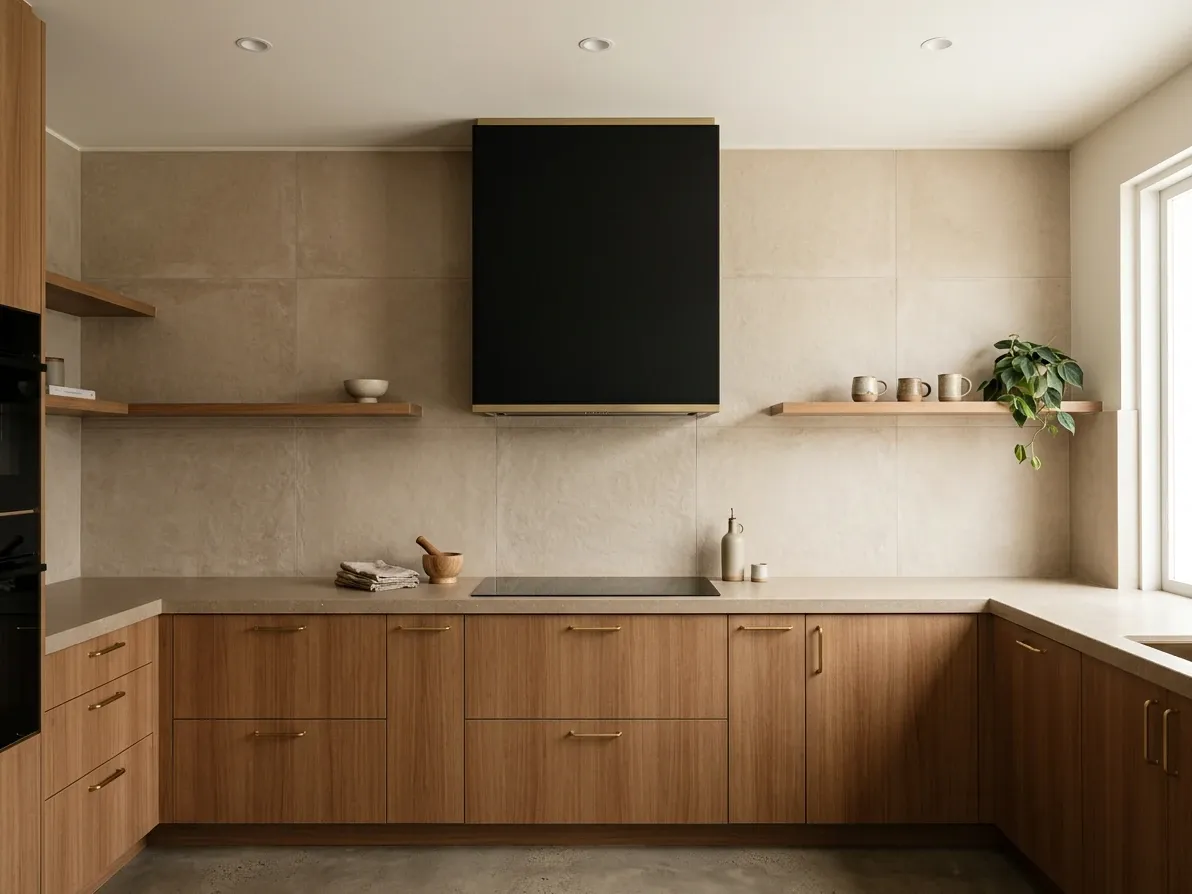
Splashback to the ceiling on the cooktop wall is the 2026 mid-range default.
The two most common splashback height specifications in Australia, and the situations each suits, are these.
The conventional height runs from the back edge of the benchtop (usually 760 to 870 mm from the floor) up to the underside of the overhead cabinets (usually 1.42 to 1.52 m from the floor), giving a vertical splashback of roughly 600 to 700 mm. This is the cheapest specification because it limits the splashback area, and it remains the right choice on prep and sink runs where overhead cabinets cover most of the wall. Tiling the part of the wall hidden behind overhead cabinets adds cost without adding visual surface.
The full-height splashback runs from the benchtop all the way to the ceiling (or to the bulkhead). In a 2.7 m ceiling it gives a splashback of roughly 1.9 to 2 m vertical. This is the 2026 mid-range standard on the cooktop wall, on rangehood walls, on open-shelving walls, and on single-runs without overhead cabinets. Visually it pulls the eye up, reads as deliberate, and removes the awkward “where the tile stops, the paint starts” line that dates a kitchen. Materially it suits slab, glass and large-format tile; small-format tile carried full-height can read as visually heavy unless the colour is restrained.
A useful rule of thumb: on walls where overhead cabinets dominate, the splashback stops in the gap. On walls without overheads (rangehood walls, open-shelving walls, single-runs without uppers, the side wall of a galley kitchen), the splashback runs to the ceiling. The hybrid version of this rule is the most common 2026 spec in mid-range Australian kitchens.
The window question is its own decision. A window between benchtop and overhead cabinet is the strongest piece of natural light a kitchen can have, and the 2026 direction is to lean into it rather than work around it. There are three common ways to handle a splashback when a window cuts into it:
Treat the window as the splashback. A clear or low-iron window that runs the full length of the cooktop wall, with the cabinetry framing it left and right, gives a borrowed-view splashback in place of any material. The compliant configuration behind a gas cooktop requires a glass splashback to AS/NZS 2208 in front of the window, or the cooktop relocated so it is not directly under the openable section of the glazing. This is the strongest 2026 move where the kitchen has a garden, courtyard, alfresco or street view worth framing.
Carry the splashback around the window. The tile or slab returns onto the reveals (the surfaces facing into the room from the window opening) so the window reads as held by the splashback rather than punched through it. This is the cleanest 2026 default.
Carry the splashback to a logical break. Tile the wall up to the window head, paint above, or stop the tile in line with a cabinet edge rather than awkwardly at the window jamb. This is the cheaper version of the same idea.
The one common mistake is to plan the splashback as if the window did not exist, which produces tile fragments that read as offcuts: a 100 mm strip beside the window jamb, a thin band over the window head, an awkward corner cut. The simpler fix is to design the splashback around the window from the start.
What a splashback actually costs in Australia
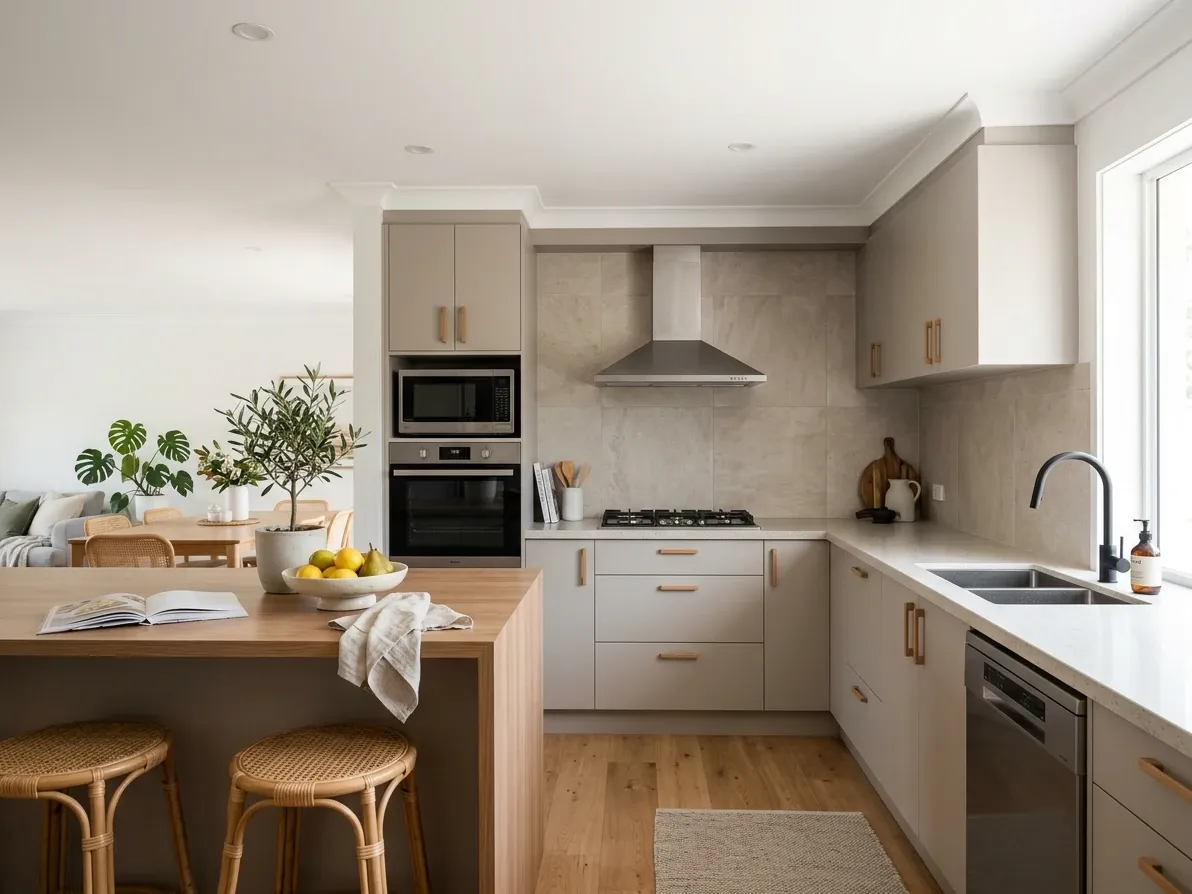
A mid-range Australian kitchen reno, splashback as one line item among many.
Material price is the headline cost and labour is the additional line item. The widely cited 2026 Australian material costs per square metre, per Canstar, are tile $45 to $250, laminate roughly $230, acrylic roughly $247, metallic composite panels $300 to $350, glass $330 to $420, and stainless steel around $330. Sintered stone and porcelain slab sit above this list at roughly $400 to $900 per square metre installed for sintered stone and $300 to $600 for porcelain slab; natural stone slab runs $400 to $1,200 installed depending on the stone.
Installed cost on a tile splashback adds roughly $40 to $100 per square metre for standard ceramic and porcelain in a stack bond or running layout, $80 to $150 for handmade tile (zellige, hand-pressed) where the tiler is taking more time per square metre, and $100 to $200 for complex pattern work (herringbone, chevron, encaustic). Glass and slab installation rolls labour into the material price typically, which is why the per-square-metre installed numbers above for those materials are already higher.
The HIA Kitchens & Bathrooms Report 2025 puts the median Australian kitchen renovation at around $30,000 to $35,000 nationally. Within that median, the splashback typically accounts for 5 to 8% of the total spend, or roughly $1,500 to $2,800 in a mid-range kitchen with a 4 to 6 square metre splashback area. Cabinetry sits at roughly 35 to 40% of total spend, benchtops at 10 to 15%, appliances at 10 to 15%, labour at 15 to 20%, plumbing and electrical at 8 to 12%, with splashback and the remaining finishes filling the balance. A premium splashback specification (full-height marble slab, full-height zellige) can push the splashback share to 12 to 15% of the total spend, which is the point at which the splashback decision needs to be made with the whole-kitchen budget in view rather than as a finishing thought.
- Cabinetry$13,30038%
- Labour and trades$10,50030%
- Benchtop$4,55013%
- Appliances$4,20012%
- Splashback$2,4507%
Sydney and Melbourne metro labour rates run 10 to 20% above the national average; Brisbane, Perth and Adelaide sit around the national figure; regional rates are typically 5 to 15% below. Specialty installers (slab fabricators with sintered stone experience, tilers with zellige experience) are concentrated in capital cities, which can push the labour line up further in regional locations.
The Australian rules every splashback has to clear
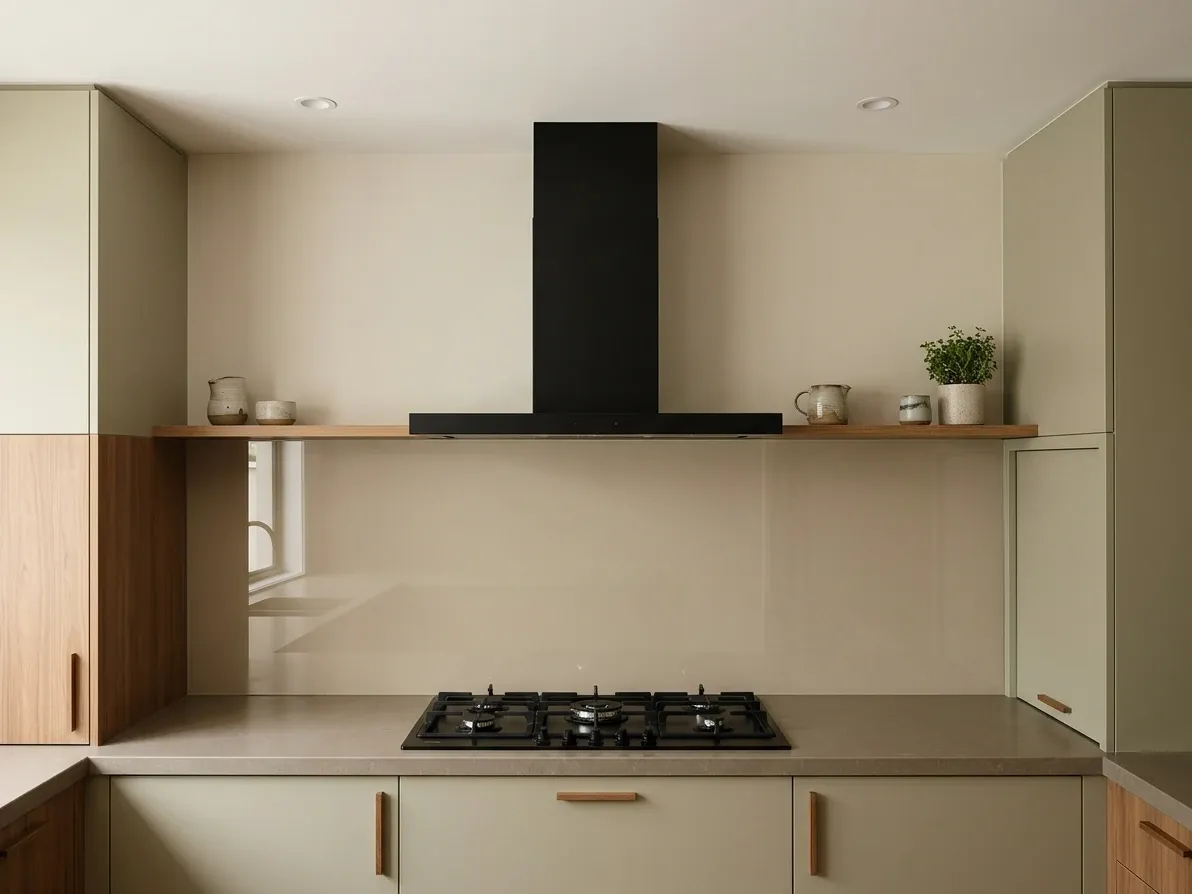
Glass and stone splashbacks sit cleanly inside the AS/NZS gas rules.
Three sets of rules cover what can go behind a kitchen cooktop in Australia and how it has to be installed. They are not optional, and they are the part of splashback specification that the inspiration-led Pinterest content does not cover.
AS/NZS 5601.1 Gas installations (General installations). Where the cooktop is gas (and roughly half of Australian kitchens still have one), the standard governs the clearance between the burner and the surrounding combustible surfaces. The required clearance is a minimum of 200 mm horizontal from the nearest gas burner to a combustible vertical surface (timber, laminate, plasterboard, wallpaper), or 50 mm to a non-combustible vertical surface (glass, ceramic tile, stone, stainless steel). Where 200 mm to a combustible surface is not achievable, the surface must be shielded with a non-combustible material that extends at least 150 mm above the highest burner across the full width of the cooktop. The general intent is that combustible surfaces near a gas burner should not exceed 65 degrees Celsius above ambient temperature, per HIA’s installation guidance.
The vertical clearance from a gas burner to a rangehood is also fixed: a minimum of 650 mm under AS/NZS 5601.1 and the rangehood manufacturer specification, often more for higher-output burners.
AS/NZS 2208 Glass safety. Where the splashback is glass (whether back-painted, low-iron, or printed), the glass must be toughened safety glass to the standard. Standard annealed float glass behind a cooktop is non-compliant and unsafe; the heat differential across the glass behind a working burner can shatter untoughened glass without notice. Reputable Australian glass fabricators supply splashback glass to AS/NZS 2208 as standard.
The 2024 engineered stone prohibition. Covered in the materials section above. Engineered stone is banned for manufacture, supply, processing and installation across Australia since 1 July 2024, including for splashback panels and slabs.
The practical implication of all three is that the splashback specification is not just a design decision. A builder, kitchen designer or tiler should confirm gas clearance and glass standard compliance in writing on the quote. Where it is not on the quote, ask for it before signing.
The mistakes that keep showing up
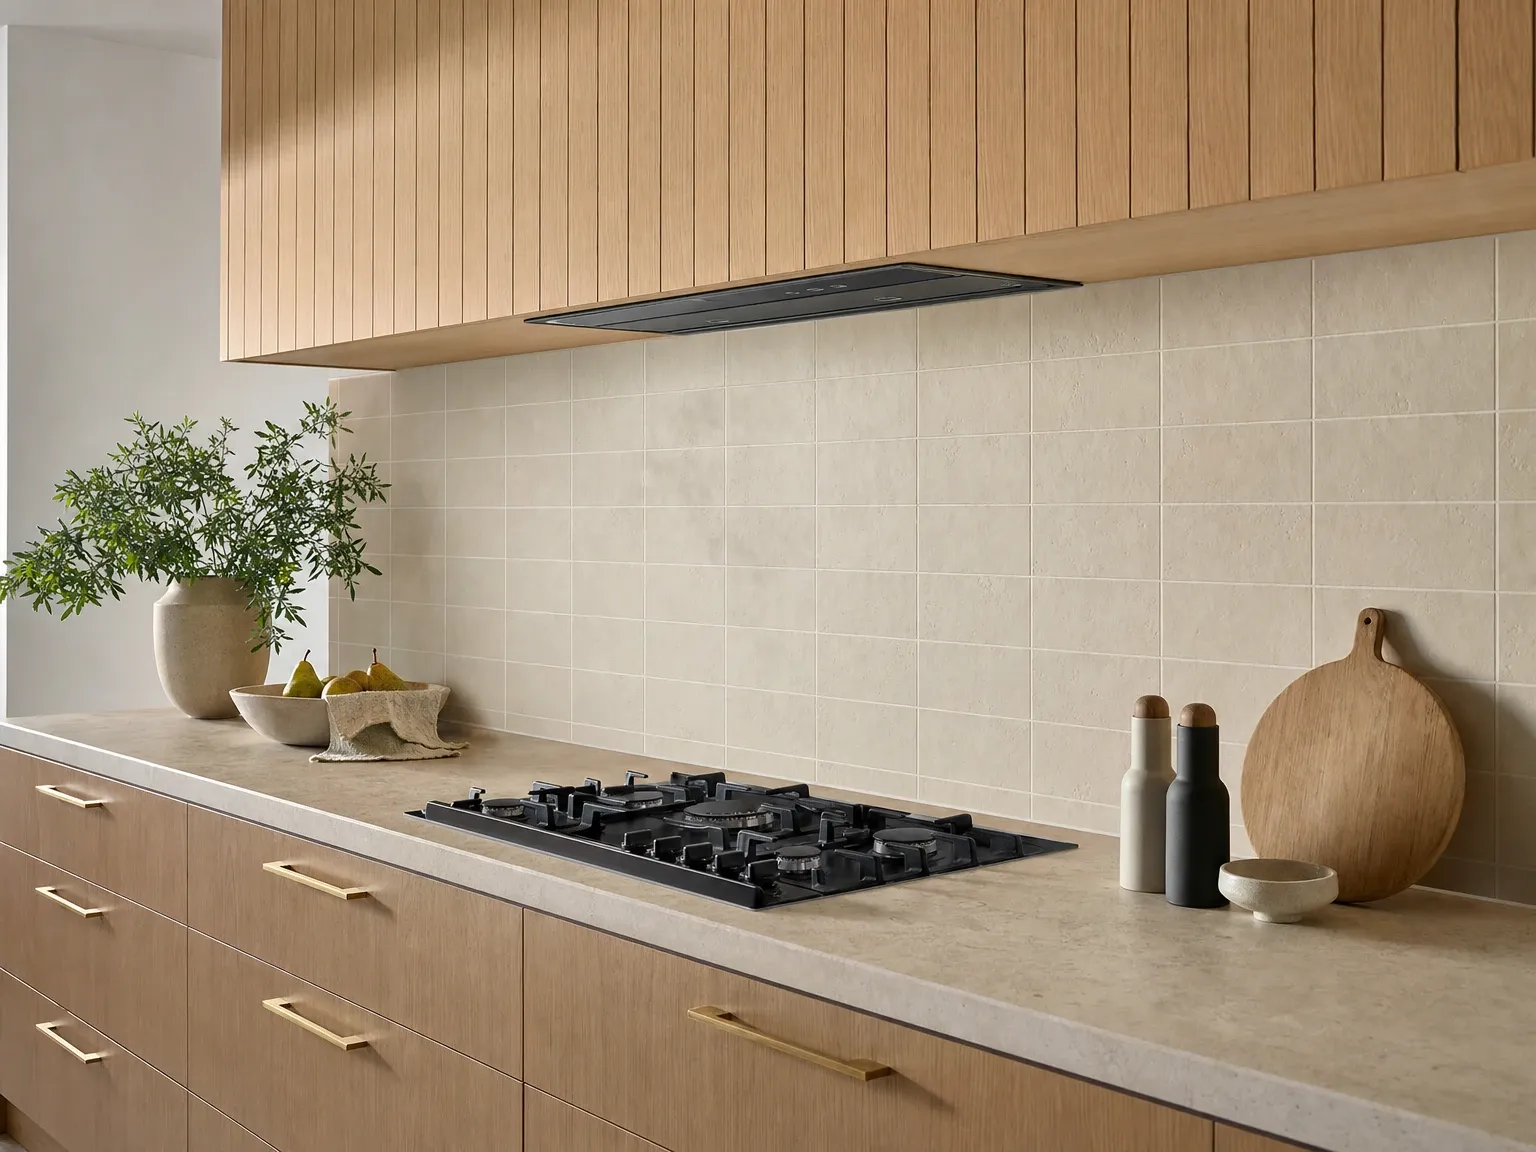
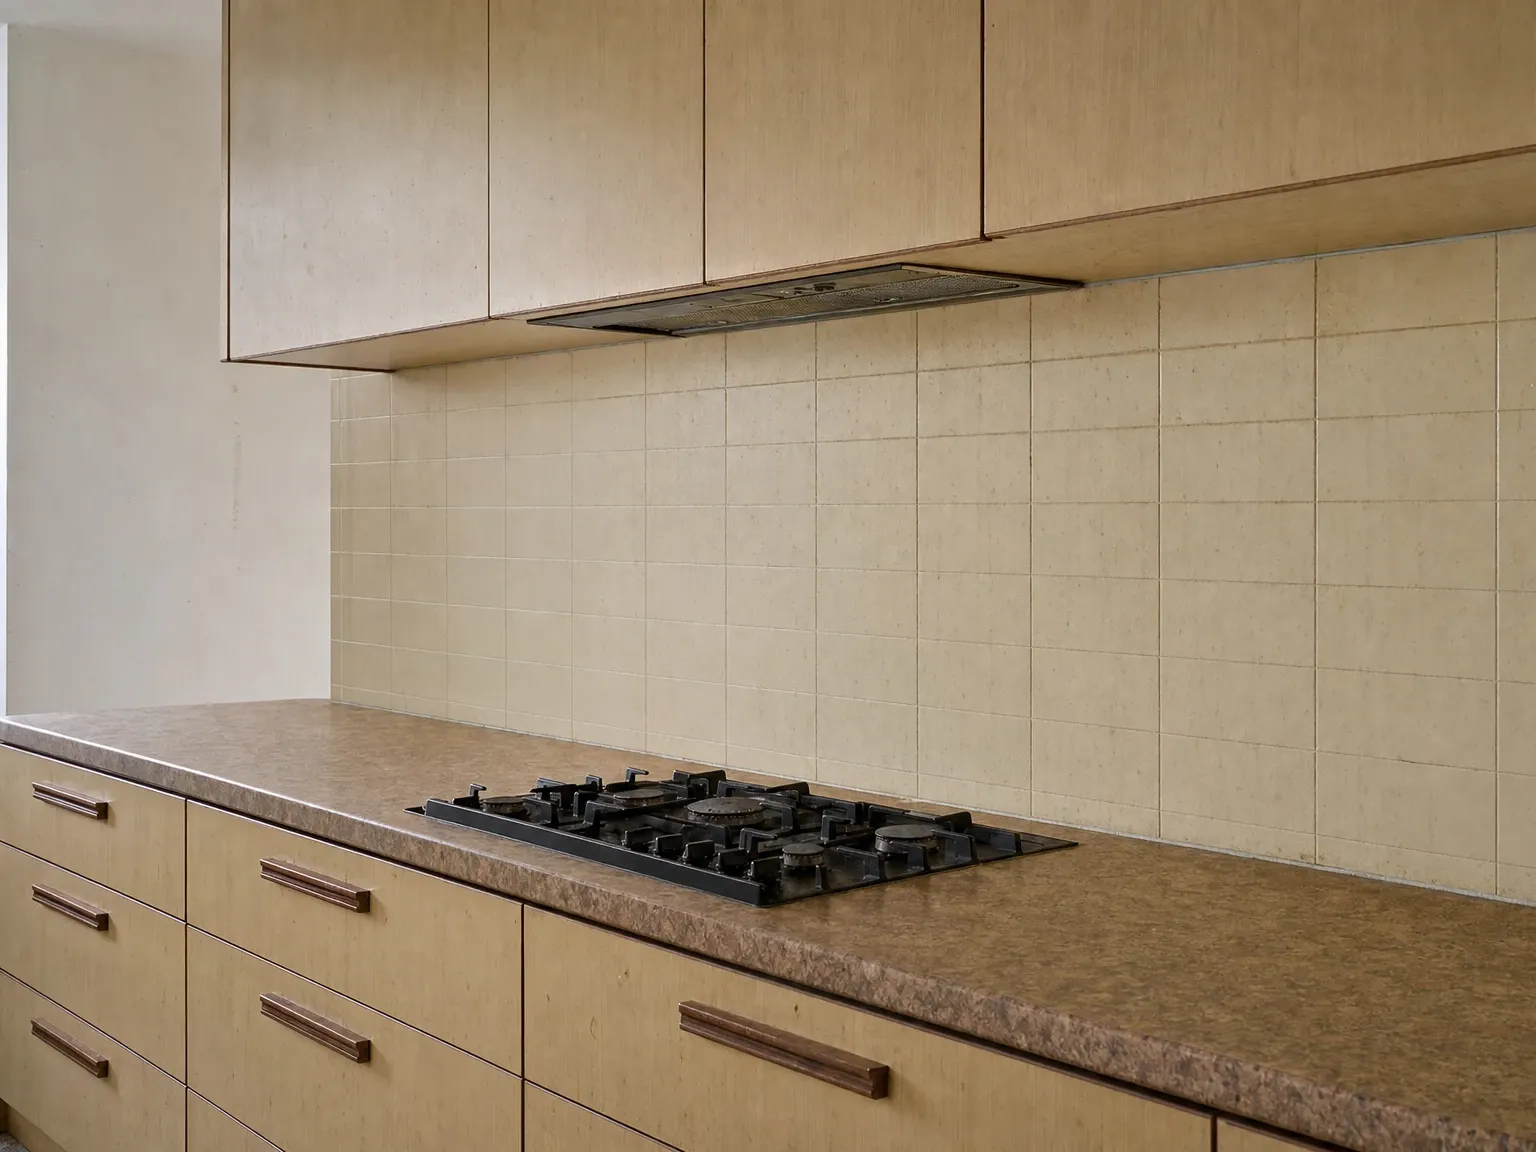 Before
After
Before
After
Five splashback patterns recur in Australian kitchens that 2026 designers would have steered away from at the design stage. None of them are catastrophic, and all are cheaper to avoid than to fix.
Plain glossy white subway tile with dark contrasting grout. The signature 2010s splashback, and the look 2026 trend pieces most often flag as dated. The format is not the problem (subway tiles in stack-bond, vertical orientation, or warm colours all work fine in 2026); the combination of glossy white plus high-contrast dark grout is what dates the kitchen. The grid reads as a graphic, the surface reads as cold and shiny, and the look traces every horizontal line on the wall. The minimal-cost fix is a warmer tile colour (off-white, oat, sand) with a tonal grout; the larger-spend fix is large-format porcelain or slab.
Engineered stone in a 2025 or 2026 quote. The product is banned. If a kitchen company is still quoting Caesarstone, Smartstone or any equivalent for the splashback in 2026, either the quote is mistakenly using a pre-2024 specification template or the company is not across the regulation, and the install cannot legally proceed. The compliant replacements are sintered stone, porcelain slab, natural stone or silica-free composite.
Splashback that fights the benchtop. The splashback above and the benchtop below are the two largest material surfaces in the kitchen and the eye reads them as one band. A busy patterned splashback above a busy veined benchtop produces visual conflict; a calm splashback above a calm benchtop reads as resolved. The 2026 rule of thumb is to pick one to do the talking. If the benchtop is a dramatic veined marble or quartzite, the splashback should be the same slab continued up the wall or a quiet plain field. If the splashback is a feature zellige or graphic tile, the benchtop should be a calm warm-neutral.
Tile stopping in the wrong place. Tile finishing 50 mm above the overhead cabinet line, or 200 mm short of the ceiling, or with an unresolved edge against a window jamb. The fix is to plan the splashback to a natural break (the cabinet line, the ceiling, a deliberate horizontal bulkhead) at the design stage, not retrofit a stop point during install. The cheapest version of “where it stops” is to choose a stop line that follows an architectural element already in the wall.
A feature tile spread across the whole splashback. A handmade tile, an encaustic pattern, a Moroccan zellige or a bold colour zellige reads beautifully as a contained feature behind a rangehood or on a single shelving wall, and reads exhaustingly when run across the whole splashback. The 2026 rule of thumb is one feature surface per kitchen, not three. The supporting splashback fields stay plain and warm-neutral.
How to picture it before you commit
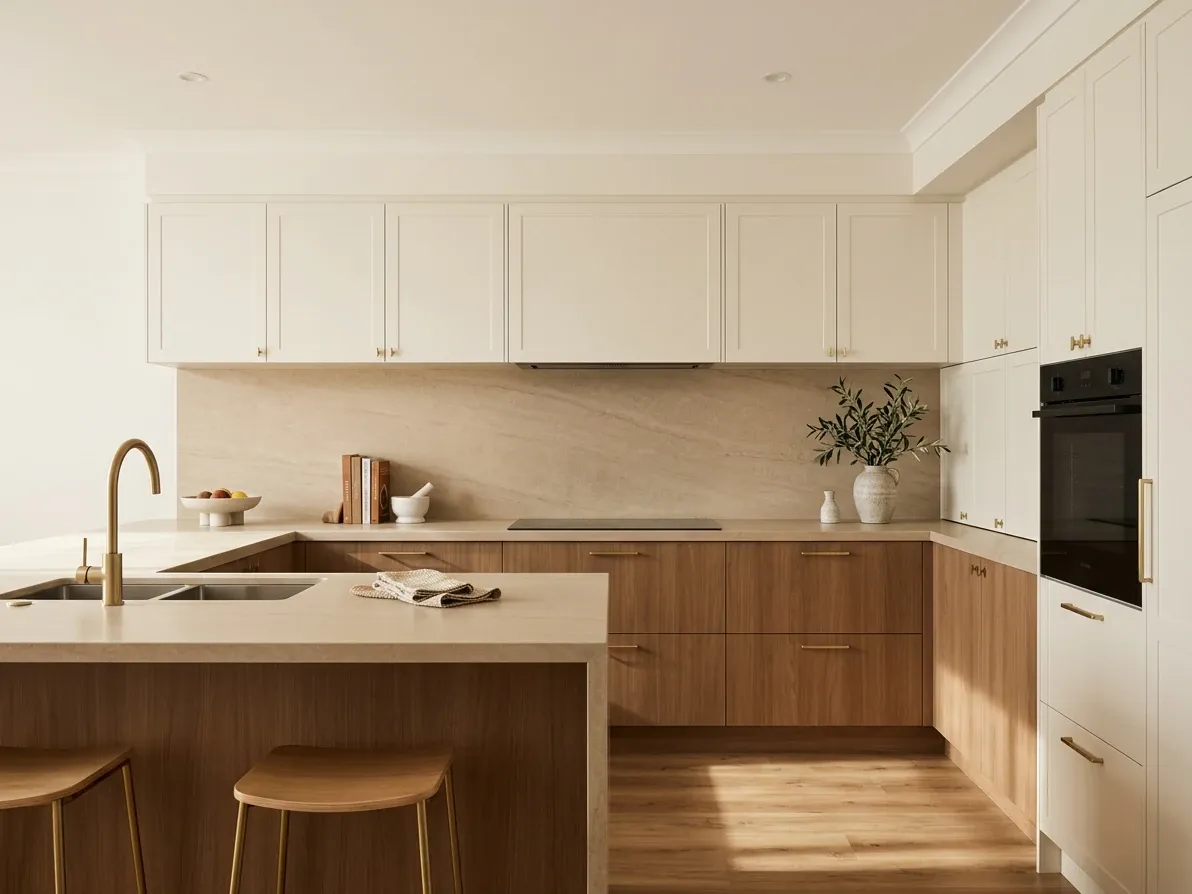
Picture the splashback in the kitchen, not against a showroom tile sample.
The single biggest reason people regret a splashback specification is that they could not picture it against the rest of the kitchen until it was installed. Showroom samples show the tile or slab on its own under showroom lighting; the kitchen is a different room with different walls, different cabinetry, different floor and different light. A sample that looks oat in the showroom can read pink under the LED downlight at home, and a slab that looked sophisticated against a black studio wall can read flat against your existing benchtop.
The cheapest version of the fix is the physical palette board (see the palette decision above): a 200 mm benchtop offcut, a cabinet door colour chip, a tapware finish sample, and the proposed tile or slab sample, assembled on a tray and viewed in the actual kitchen under the actual lighting. This costs almost nothing and resolves most of the surprises.
The more thorough version, especially for full-height slab or handmade tile feature work where the spec is expensive and locked-in once installed, is to picture the finished splashback as a photoreal kitchen render before you commit. A render of the kitchen with the proposed splashback (and a second render with the runner-up specification) lets you compare both options against the actual cabinetry, benchtop and lighting before the slab is cut. This is what we do at reIMG: take a render or a photo of the kitchen and produce visualisations of the room with each splashback option in place so the decision is being made against a picture of the finished space rather than a 200 mm tile sample in a showroom.
If you want a deeper read on the broader kitchen renovation decisions that surround the splashback, the kitchen renovation ideas guide covers the sequence end to end, the kitchen renovations on a budget guide covers the costs in more detail, and the kitchen cabinet design guide covers the largest line item the splashback has to talk to.
Frequently asked questions
What’s the most popular kitchen splashback material in Australia?
Tiles. The 2023 Houzz Australia Kitchen Trends Study, a survey of 473 Australian homeowners mid-renovation, found tiles were used in 56% of kitchen splashback specifications, well ahead of glass, stone slab, stainless steel and acrylic. Within tile, ceramic and porcelain dominate by volume because they sit at the entry point on price; zellige and handmade-look ceramic carry the high-end and feature-wall demand. White remains the single most chosen splashback colour at 38%, but that share has been eroding fast since 2023 in favour of warm off-whites, sage, terracotta and deep green. The five-year direction is toward warmer, more textured tile in larger formats, with handmade tile as the contained feature.
How much does a kitchen splashback cost in Australia in 2026?
Material cost runs roughly $45 to $250 per square metre for tile (the wide range covers basic ceramic at the bottom and premium porcelain or handmade tile at the top), about $230 per square metre for laminate, $247 for acrylic, $300 to $350 for metallic composite panels (Metaline and similar), $330 to $420 for glass, and $330 for stainless steel, per Canstar Australia. Installed costs add roughly $40 to $100 per square metre of labour for tile (more for handmade or pattern work), and $100 to $300 for glass or slab. A typical 4 to 6 square metre Australian kitchen splashback therefore runs around $1,500 to $4,500 fully installed at the mid-range. The HIA Kitchens & Bathrooms Report 2025 puts the median Australian kitchen renovation at around $30,000 to $35,000, with the splashback typically accounting for 5 to 8% of the total.
Why is engineered stone banned for splashbacks in Australia?
Engineered stone (the high-silica composite often sold as Caesarstone, Smartstone and similar before 2024) has been prohibited for manufacture, supply, processing and installation in Australia since 1 July 2024, with imports also prohibited from 1 January 2025. The ban explicitly covers benchtops, panels and slabs, which means splashback panels are included, not just kitchen benchtops. Safe Work Australia introduced the ban in response to a sharp rise in silicosis among workers cutting and finishing engineered stone, which can contain more than 90% crystalline silica. Compliant alternatives now sold for splashback slab work include sintered stone (Dekton, Neolith, Laminam), natural stone (granite, marble, quartzite, travertine), porcelain slab, and crystalline-silica-free composites (such as the Silestone XM range). Existing engineered stone splashbacks already installed in a home do not need to be removed, but any cutting, repair or removal must be done by a qualified tradesperson.
What’s the minimum clearance behind a gas cooktop in Australia?
Under AS/NZS 5601.1 (Gas installations, General installations), a gas burner needs at least 200 mm of horizontal clearance to a combustible vertical surface (timber, laminate, plasterboard), or 50 mm to a non-combustible vertical surface like glass, ceramic tile, stone or stainless steel. If the available clearance to a combustible surface is less than 200 mm, the surface must be shielded with a non-combustible material that extends at least 150 mm above the highest burner across the full width of the cooktop. The general intent of the standard is that combustible surfaces near a gas burner should not exceed 65 degrees Celsius above ambient temperature. Glass splashbacks behind a gas cooktop must additionally comply with AS/NZS 2208 and be toughened safety glass. Rangehoods over a gas cooktop need a minimum clearance of 650 mm above the cooking surface, per AS/NZS 5601.1 and the rangehood manufacturer specification.
Should a kitchen splashback go all the way to the ceiling?
The 2026 direction across Australian designers and showrooms is yes, where the wall reads as a feature: behind a rangehood, on an open-shelving run, around a freestanding cooker, and on the cooktop wall of a galley or single-run kitchen. The conventional stop point of 600 to 700 mm (benchtop to underside of overhead cabinets) still works on the sink and prep runs where overhead cabinets cover most of the wall, because tiling the cabinet zone adds cost without adding visual surface. A useful rule of thumb is that on walls where overhead cabinets dominate, the splashback stays in the gap; on walls without overheads (rangehood walls, open shelving walls, single-runs without uppers), the splashback runs to the ceiling. The hybrid version is the most common 2026 spec in mid-range Australian kitchens and the one to default to if uncertain.
What grout colour should I use with my splashback tile?
Match the grout to the lightest tone in the tile rather than picking a high-contrast colour. Pure white grout with white tile looks beautiful for six months and then catches oil, food splatter and mineral staining; dark contrasting grout with plain white tile is the look most often called dated by 2026 Australian designers, because it traces every line in the grid and reads as 2015. With handmade tile (zellige, hand-pressed ceramic) the grout joint is naturally wider, so a tonal grout matched to the lightest glaze tone keeps the tile reading as a field rather than as a graphic pattern. If you want crisp white grout that stays crisp, specify epoxy grout (non-porous, never needs sealing) and pay the 20 to 40% premium on the grout line. The exception where contrasting grout earns its place is a graphic feature tile (Moroccan encaustic, terrazzo-look hex) where the grid is intentionally part of the design.
Is the engineered-stone ban why I keep seeing ‘sintered stone’ splashbacks now?
Yes. Sintered stone is the closest visual replacement for engineered stone and is silica-free, so it sits cleanly inside the post-2024 rules. It is made by fusing natural minerals under heat and pressure (the process is called sintering) into a dense slab with through-body colour and pattern, which means a chipped edge does not reveal a different colour underneath. Brands include Dekton, Neolith and Laminam. It can be supplied in slabs up to roughly 3.2 m x 1.6 m, so a full-height splashback can usually be done in one or two pieces with minimal joins. The trade-offs are that it is heavier and more expensive than tile (broadly $400 to $900 per square metre installed for sintered stone, versus $80 to $250 for porcelain tile), and it needs experienced installation: the slab is harder than granite and edges chip if mishandled. The category most often searched as a direct Caesarstone replacement in 2026 is sintered stone, with porcelain slab a step down in price and natural stone a step up.
Are tiles or slab splashbacks better for a small kitchen?
Slab almost always reads bigger in a small kitchen because there are no grout lines for the eye to stop on, and the single uninterrupted surface holds the room together visually. Sintered stone, porcelain slab and back-painted glass are the three slab options that work without engineered stone. If the budget favours tile, the small-kitchen version of the same idea is large-format tile (600 x 600 mm or larger) with grout matched tightly to the tile colour, run to the ceiling rather than stopping under the overhead cabinets. Both moves work because they reduce the number of horizontal breaks the eye reads in the room. The look to avoid in a small kitchen is small-format patterned tile (mosaic, penny round, encaustic) across the whole splashback wall: pattern busyness in a small space shrinks it further. Save the pattern for a contained feature behind the rangehood instead.