The Sydney forecast said sunny. It clouded over on the drive from Coogee to Vaucluse. The vendor is already tetchy about the campaign start date, the brief calls for a hero exterior on realestate.com.au by tomorrow morning, and the sky above the house is a flat, featureless grey that will make every portal thumbnail look like it was shot in Manchester. This is the moment sky replacement earns its keep in Australian property marketing.
The technique is old but the tooling has moved fast. Photoshop’s built-in Sky Replacement, introduced in 2020 and powered first by Adobe Sensei and now by Firefly, handles the bulk of what a real estate photographer needs in about thirty seconds. Lightroom now carries an AI Select Sky mask that lets you enhance without swapping. Luminar Neo, Imagen, BoxBrownie and a handful of property-specialist AI services do the same job differently, at different price points, with different failure modes. Sitting above all of it is the Australian Consumer Law, which has drawn a sharper line under what a sky swap can and cannot show since NSW’s Residential Tenancies Amendment (Protection of Personal Information) Bill 2025 landed.
This guide is written for the property photographers, real estate agents and vendors making the call on whether, when and how to change the sky on a listing photo in 2026. It covers the legal line as it actually stands, the built-in Photoshop tool and its manual counterpart for hero work, the AI-driven alternatives across Lightroom, Luminar Neo and the property-specialist services, the free browser tools that are fine for a single photo, and what the whole thing costs when the work is outsourced. Prices are AUD and the practice notes are Australian.
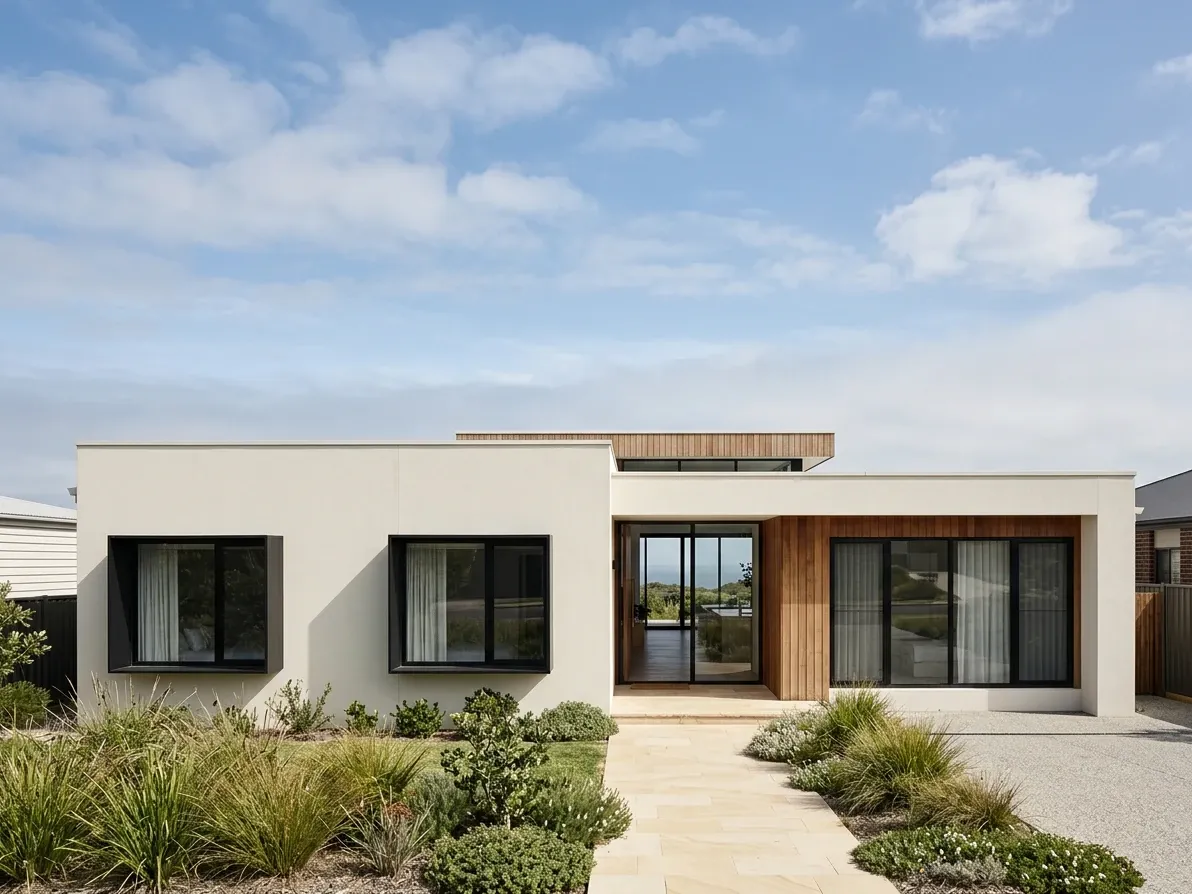
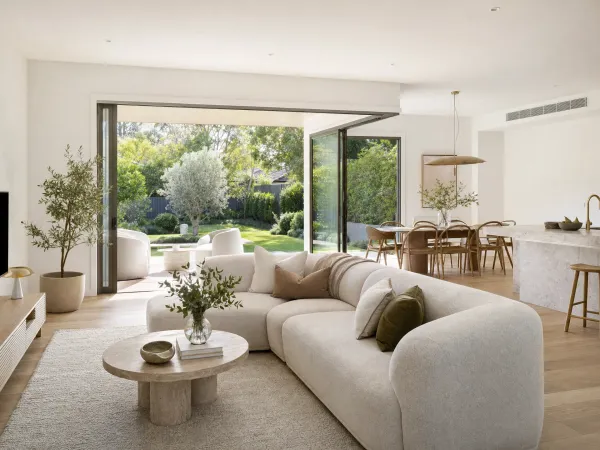
A calibrated coastal sky is what sky replacement is trying to match.
Why property photographers reach for sky replacement
The listing hero photo is the first frame a scrolling buyer sees, and it does most of the work. realestate.com.au’s PropTrack Buyer Impact Model, built on 1.3 million Australian sales between August 2023 and November 2025 and independently reviewed by Deloitte, reports that eventual buyers view 28 times more property images than people who scroll past the listing. The imgix analysis of buyer behaviour found buyers spend roughly 60% of their time on a listing looking at photos before reading a word of the copy, and 85% rank imagery as the single most important factor in evaluating a property online. A hero shot that opens on a flat grey sky loses that first-impression fight in the thumbnail grid before the buyer has even tapped through.
The Australian shooting calendar makes the problem structural. A Melbourne winter, a Brisbane summer storm season, a Perth afternoon that clouds in from the coast without warning: a photographer who only ships when the sky co-operates ships nothing for weeks. The commercial reality of property photography here is that a shoot books when the campaign books, and the sky is what it is on the day. Sky replacement is how a decent exterior photo survives an average sky.
The technique also has a straightforward compositional argument. A featureless white or grey sky reads on a portal thumbnail as empty space at the top of the photo: it drains attention from the house and adds nothing. A calibrated blue sky with light cloud reads as “clear day”, which is what a buyer expects a well-photographed home to sit under. Every high-volume real estate editing service, from BoxBrownie to the specialist AI platforms, treats sky replacement as a routine deliverable rather than a special-effects request. According to Melbourne market notes from an established real estate photography guide, 99% of agents in that competitive metro market simply expect the swap as standard.
The Australian line: where a sky swap is safe, and where it is not
Sky replacement in property marketing sits under the same Australian Consumer Law umbrella that governs every other listing image. Under the ACL, misleading or deceptive conduct in trade or commerce carries a maximum penalty of $220,000 for an individual and $1.1 million for a company, per the ACCC’s real estate guidance. The test is a plain one: an ad must not create an impression that a reasonable person would rely on if that impression is false in a material way. A sky is material only when it changes what the buyer thinks they are inheriting when they sign.
That distinction is the whole rule. Swapping a grey overcast sky for a clean blue with light cloud on a Sydney home listing does not change what the buyer inherits: the property comes with the same aspect, the same solar exposure, the same rainfall. The swap represents the property in the weather it sits under most of the year rather than the weather it sat under on shoot day. BoxBrownie’s ethics note on sky replacement and PhotoUp’s compliance guide both land on the same reading, and Victorian conveyancer commentary on the 2025 misleading-image reform treats a realistic overcast-to-clear swap as industry standard rather than a compliance risk.
The line moves the moment the replacement sky misrepresents something a buyer would actually rely on. Money magazine’s coverage of the crackdown flagged three practical failure modes. Swapping in a dramatic sunset over a property that has never been photographed at dusk implies afternoon light quality the buyer will not experience. Swapping in a bright blue sky over a listing in a region with well-known persistent overcast weather implies a climate that is not the property’s. Using sky replacement to hide something the sky was covering up, a communications tower behind the house, a neighbouring building peeking over the roofline, an overhead cable, is functionally the same conduct as removing that infrastructure directly. All three cross from enhancement into misrepresentation.
NSW’s new rental legislation added a rental-specific regime that names background infrastructure explicitly. The Residential Tenancies Amendment (Protection of Personal Information) Bill 2025 creates penalties of $5,500 for an individual and $22,000 for a business when an altered rental image is likely to mislead a prospective tenant, and lists electricity towers as a specific example of infrastructure that cannot be edited out of the background. A sky swap that inadvertently paints over a tower on the rear boundary is captured by the same rule as removing it directly. Queensland’s Property Occupations Act 2014 section 212 sets a maximum of $72,063 for misrepresentation by a licensee. Between the state-specific regimes and the ACL sitting above them, the exposure for getting sky replacement wrong is real, and the REIQ commentary on misleading conduct is worth reading before locking in a house-style workflow.
The same conduct rules that govern any retouching of a real estate photo apply to sky replacement the moment the swap hides or invents something material. If the buyer would meet the same sky on inspection during a normal week, the swap is safe. If the sky implies a light quality, a weather pattern or an outlook the property does not have, the swap has crossed the line.
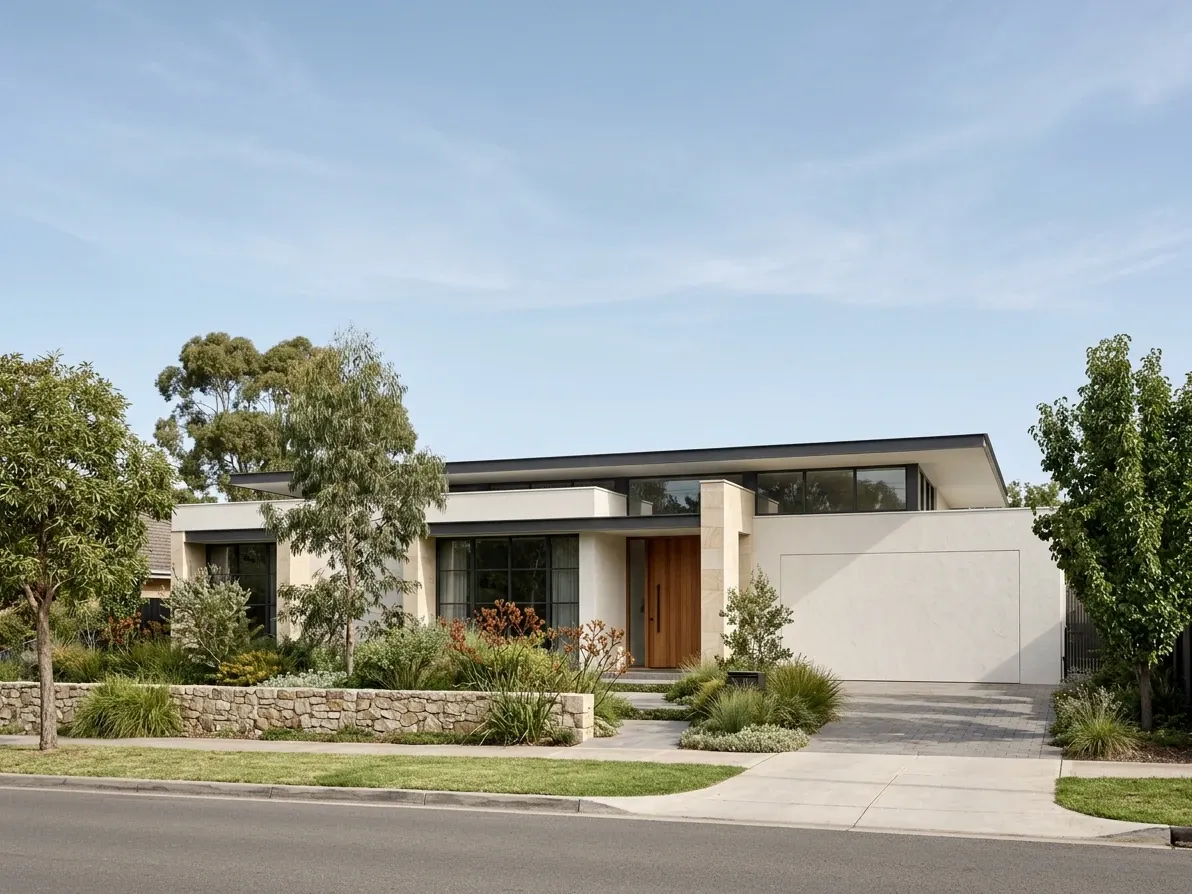
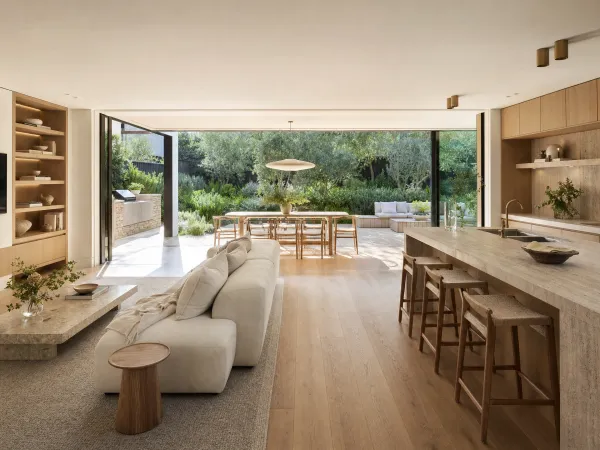
An understated sky lets the house lead the frame.
Where sky replacement earns its place, and where it does not
The obvious win is the grey-to-blue swap on an exterior shot where the sky is the top third of the frame and it is featureless. That single edit lifts the perceived quality of the entire listing photo. A hero exterior with a flat white sky above a beautifully finished home reads as “we shot this on a bad day”. The same photo with a calibrated blue and light cirrus reads as “we shot this on a good day”, and the difference in click-through on portal thumbnails is not subtle.
The next-best case is the blown-out sky rescue. When a photographer meters for the shadowed facade, the sky above often clips to pure white pixels: no data to recover, no texture, nothing for a viewer to look at. Sky replacement is the cleanest fix because there is nothing to blend into. The masking is easy, the new sky drops in with almost no visible seam, and the finished shot represents the property fairly.
A weaker case is the dramatic-cloud or sunset swap on a hero exterior. It can work for a marketing visualisation for a new development where the imagery is clearly aspirational, but on a re-sale listing it strains credibility and drifts toward misleading if it implies a light direction or a time of day the property will not naturally show. When the aim is a proper dusk shot, day-to-dusk conversion is the right tool, not a sky swap dressed up as one (see the dusk-conversion section below).
Sky replacement is worth skipping in a handful of cases. Interior shots looking through a window rarely benefit: the window frame masks unreliably, the exterior scene behind glass reads as small and secondary, and any misalignment in colour or brightness between the interior and the swapped exterior sky reads immediately as fake. Aerial and drone shots that already carry a rich, detailed sky are usually better left alone. And any photo where the sky is a narrow sliver at the top of a heavily-treed frame is not worth the mask-refinement work: the buyer’s attention is on the house and the trees, not the strip of sky above them.
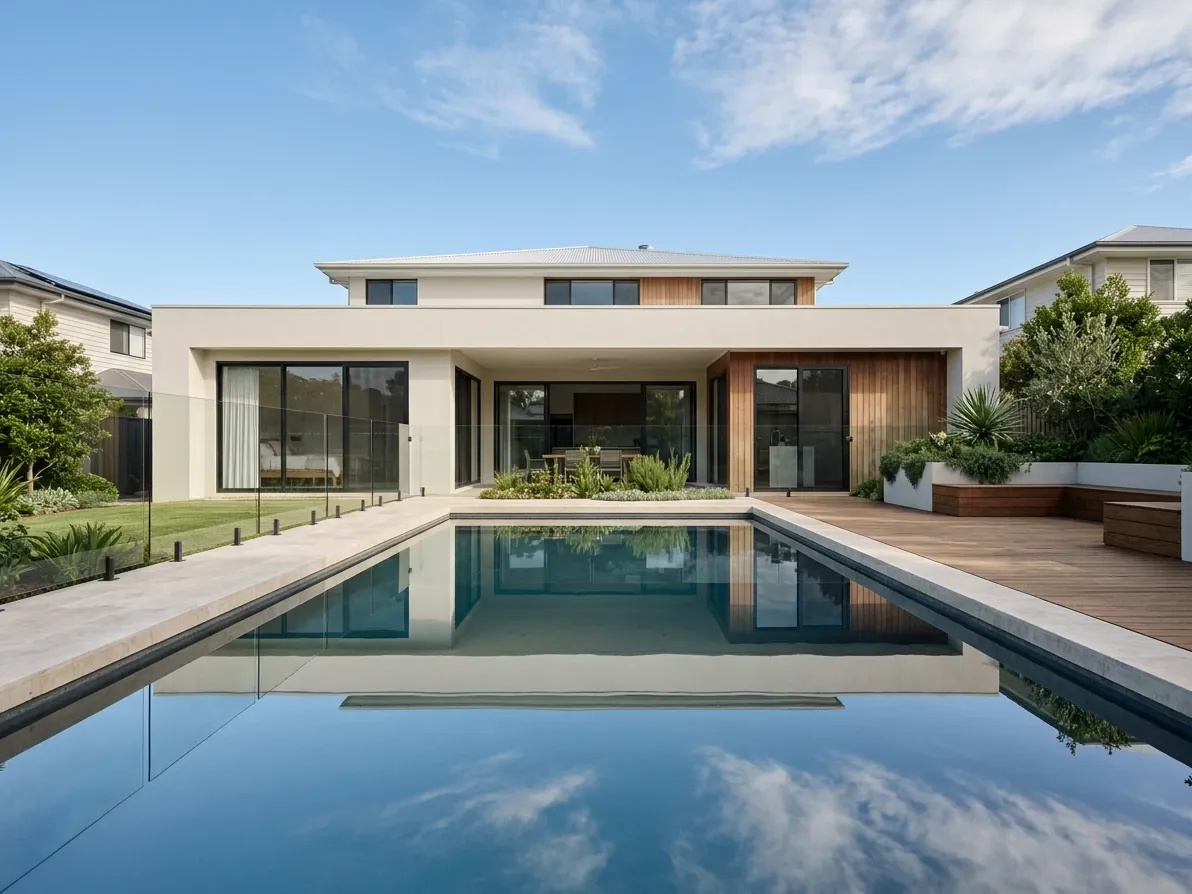
The sky reflected in the pool has to match the sky above.
The techniques that separate a good sky swap from a bad one
Five practical rules cover almost every mistake made in real estate sky replacement, and they apply regardless of tool.
Match the light direction. This is the most damaging error and the one every viewer notices without being able to name it. If the sun in the original photo lit the facade from the upper right, the replacement sky must have its brightest region in the upper right, and any visible sun position must sit consistently. Foreground shadows pointing one way and sky brightness pointing another break the photo instantly. In Photoshop’s built-in tool the Flip control fixes horizontal mismatches; in Lightroom the workflow is to enhance rather than swap so the direction cannot go wrong.
Match the colour temperature and cast. A warm honey sky over a house lit by neutral midday light reads as composited. Every serious sky replacement tool (Photoshop, Luminar Neo, Imagen, Lightroom) offers a foreground-recolour or scene-relight step that samples the sky’s dominant hue and washes a subtle version of it back into the foreground. Use it. Skip it, and the foreground and sky live in separate photos.
Keep the sky understated. For real estate work, the best sky replacement is the one the viewer does not notice. A clean blue with light cirrus is the safe default for almost every Australian listing. Dramatic mackerel-cloud skies and hard-edged sunset gradients belong on landscape prints, not on residential listings, where they pull attention away from the house.
Match the sky to the location and season. A sky that reads as “Sydney in autumn” over a coastal Perth home is subtly wrong to a local eye. A West Australian buyer sees the light differently to a New South Wales buyer, and a picture-perfect Bondi sky pasted over a Tasmanian shoot reads as a stock image. Choose or shoot skies to match the region’s characteristic light, and shoot your own sky library from actual Australian conditions rather than leaning on the presets shipped with an American product.
Handle reflections in glass, pools and wet surfaces. A hero exterior often has a pool, a large window, or a wet driveway that reflects the sky. Replace the sky above but leave the water and glass showing the old grey sky and the composite reads as broken. Luminar Neo handles pool and water reflections automatically; every other tool requires a second manual pass on the reflective surfaces. Skip that step and the photo fails on the second glance.
Beyond the five, two smaller details are worth the time. The horizon line between sky and skyline needs a fade edge wide enough to hide the mask but narrow enough not to soften distant treetops into mush: three to five pixels of feather is usually right. And if the original had a hazy or slightly polluted sky (common in Sydney summers and after bushfire smoke drifts), the replacement should not go straight to alpine-clear blue. The transition to a hyper-clean sky over a hazy horizon looks retouched even when everything else is well handled.
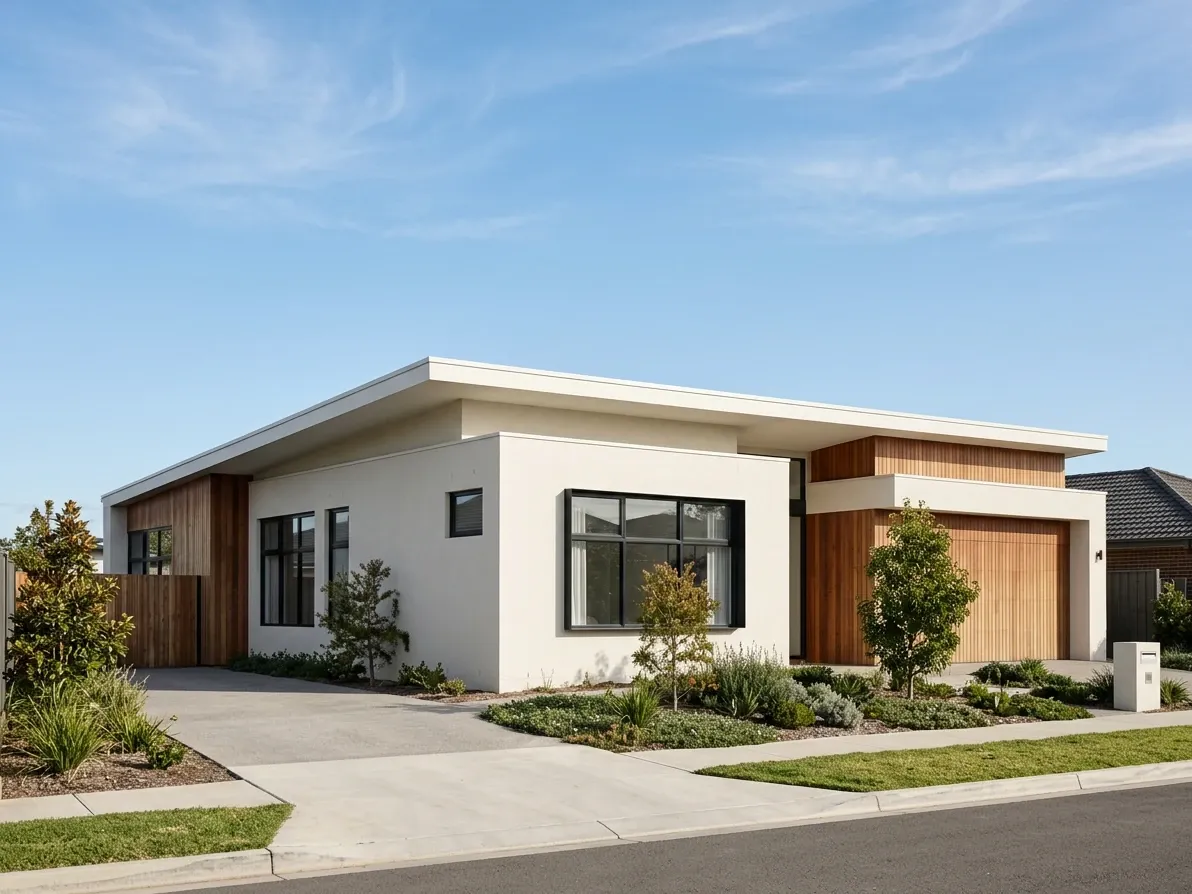
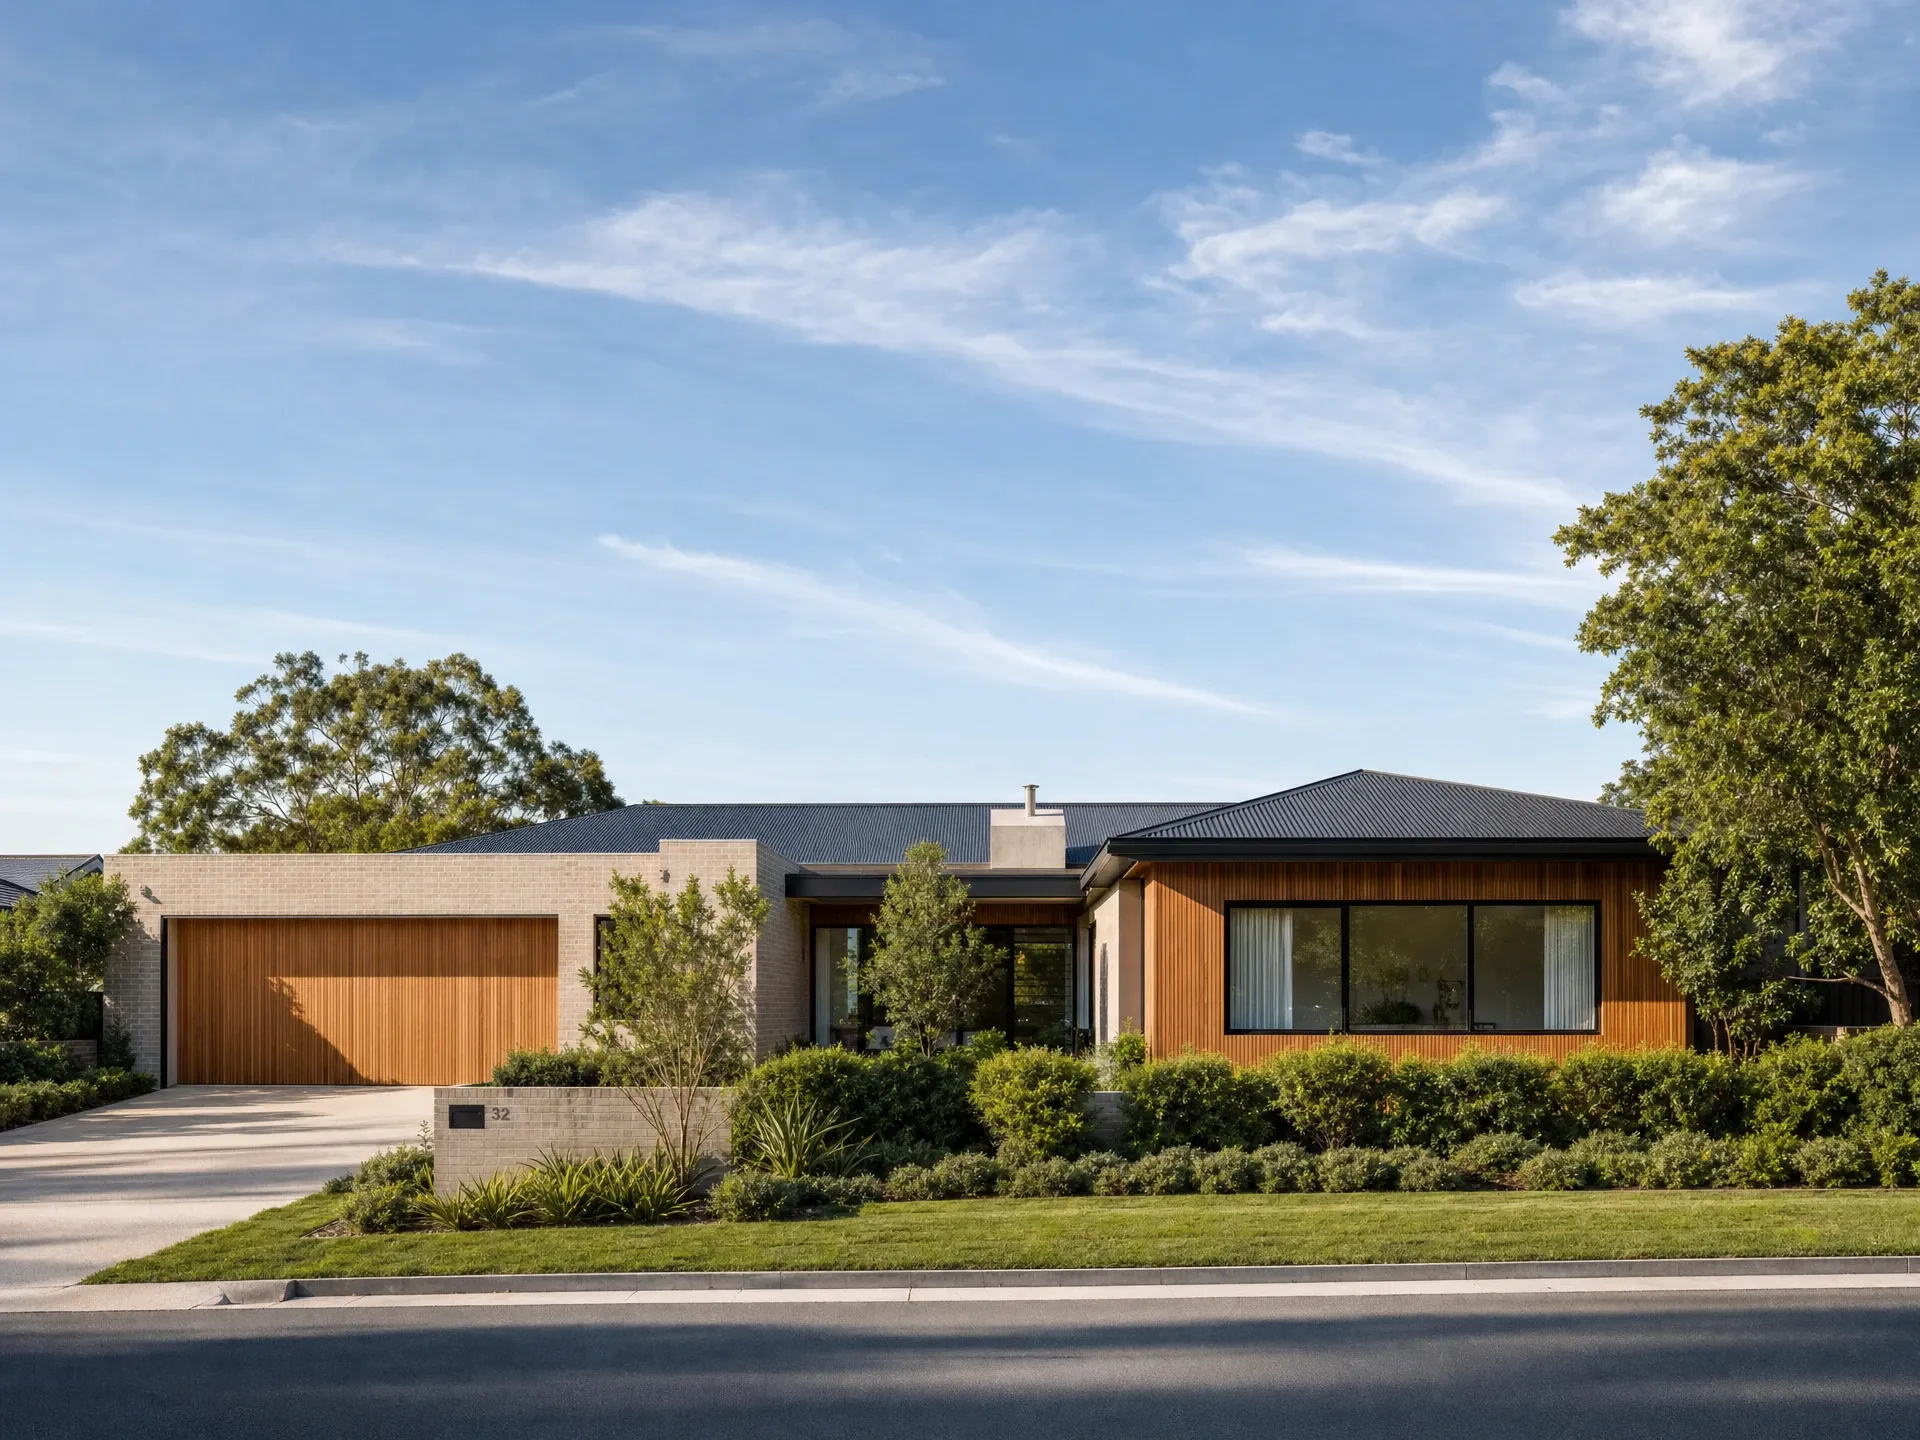
A clean roofline is the case built-in Sky Replacement handles cleanly.
Photoshop’s built-in Sky Replacement, step by step
Photoshop shipped a built-in Sky Replacement feature in the 2021 release, powered by Adobe Sensei, and it has become the fastest way to handle the majority of real estate sky work. It sits under Edit > Sky Replacement. The dialog opens with a default preset already applied so the effect is visible immediately, and the same dialog carries every control needed to finish the swap.
Shift Edge and Fade Edge control the transition between the sky and the foreground. Shift moves the sky-to-foreground boundary up or down, useful when Photoshop’s automatic mask sits slightly wrong on a complex skyline. Fade Edge sets how soft the transition is: three to five pixels is a comfortable default for a suburban roofline, more for delicate tree canopies, less for hard-edged modern architecture.
Brightness and Temperature adjust the swapped sky and the whole scene respectively. Brightness affects only the new sky; Temperature warms or cools the whole scene to match. Push Temperature into the same warmth range as the foreground light, and the composite reads as cohesive rather than pasted.
Scale and Flip control the sky image itself. Scale resizes so cloud placement lands where you want it. Flip mirrors the sky horizontally. Use Flip when the sky’s brightest area sits opposite the light direction in the foreground.
The two adjustment groups labelled Sky Adjustments and Foreground Adjustments are the difference between an average swap and a professional one. The Foreground Color Adjustment slider washes a subtle version of the new sky’s dominant hue into the foreground; use it lightly on real estate work, more heavily on golden-hour landscape shots. The Foreground Lighting slider brightens the parts of the foreground the new sky would light.
The Adobe Photoshop 2026 update added generative-fill integration into Sky Replacement. Rather than pick from Adobe’s Blue Skies, Spectacular and Sunsets preset packs, you can prompt Firefly (or Google Gemini 3 or Black Forest Labs FLUX.2 Pro through Photoshop’s multi-model support) for a specific sky and drop it in as a preset. For property work the presets are almost always enough. The generative option is more useful for editorial work than for a residential listing where the aim is a believable clear sky, not an invented one.
The tool’s honest limitations are worth flagging. Fine tree branches against sky are the classic mask failure: the algorithm bleeds sky through the branches or paints the branches with foreground colour. Overhead power lines (which you cannot remove anyway) confuse the mask. Very complex chimneys with cutouts or fine railing details need a manual pass. When any of these sit in frame, the built-in tool gets you 80% of the way there and the last 20% is manual work in the Select Sky workflow.
The manual Photoshop workflow for hero images
When the built-in tool does not finish the job, a competition-standard hero image, a facade with lace-fine ironwork silhouetted against sky, a commercial building with rooftop cranes, the manual workflow is still the ceiling for quality.
The sequence is straightforward. Select > Sky generates a first-pass mask using the same AI as the built-in tool. Refine Edge with Decontaminate Colors set to around 30% to 50% removes the fringing that would otherwise leave a halo of old-sky colour around trees and rooflines. The refined selection becomes a layer mask on the new sky layer, placed above the base photo. A Curves adjustment layer clipped to the sky matches its brightness to the scene; a second Curves layer clipped to the foreground pulls a subtle version of the sky’s dominant colour into the shadows.
The last pass is the light-source match. Sample the sky’s brightest area and paint, with a very soft brush on a dodge layer set to Screen at low opacity, a slight lift into the foreground surfaces facing that direction. This is what makes the composite read as one photograph rather than two. Landscape photographers on Photofocus and Fstoppers still favour this manual path when the ceiling matters, because Photoshop’s precision on the edge mask still exceeds every AI competitor on complex foliage and fine architectural detail.
Manual is slower: a well-executed hero replacement runs eight to twelve minutes rather than the built-in tool’s thirty seconds. The workflow question is when it earns its time. For a portfolio-quality hero image, always. For the other eleven photos in the same listing, almost never.
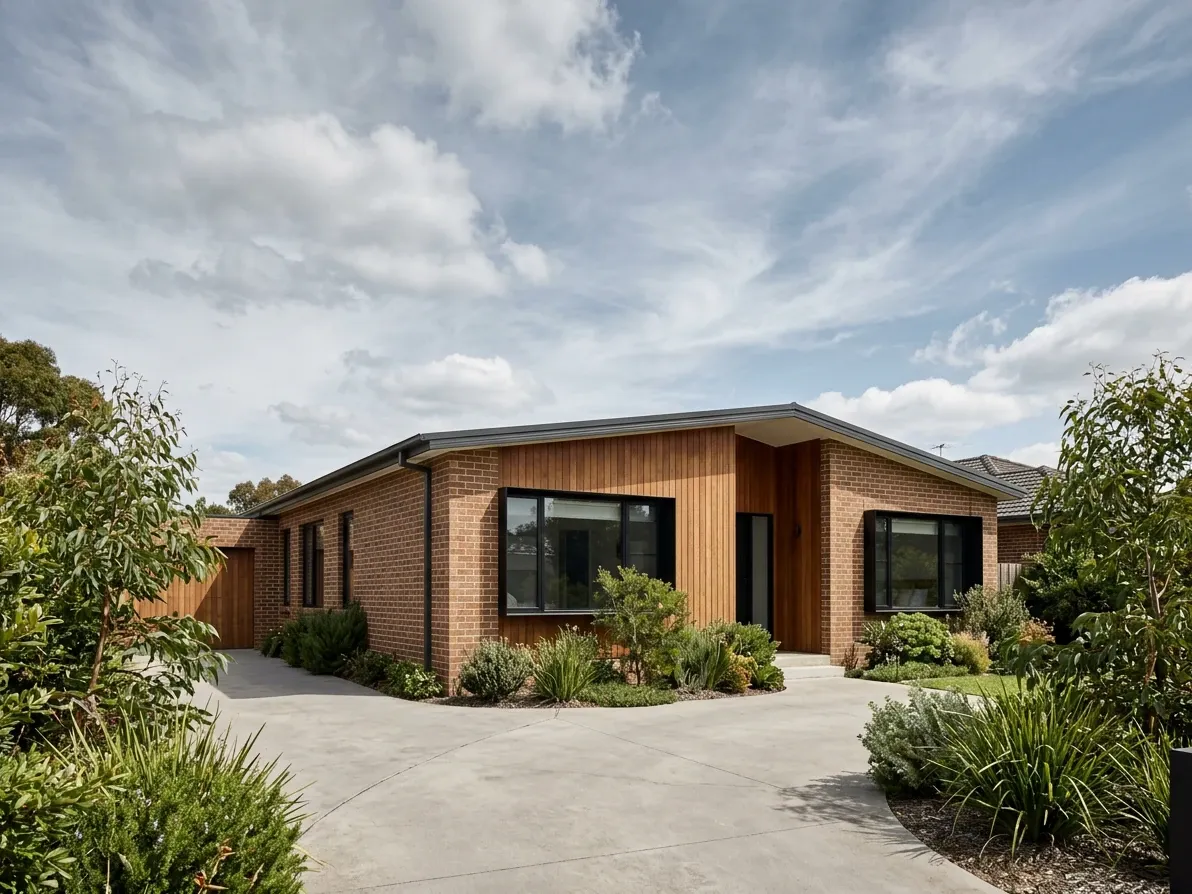
Sometimes the sky only needs a Lightroom mask, not a swap.
Lightroom’s Select Sky mask, and why it is often the smarter tool
Lightroom’s AI Select Sky mask is not a sky replacement tool. It is a local-adjustment mask that isolates the sky so you can push its exposure, contrast, dehaze, temperature and saturation without touching the foreground. For a real estate photographer, that distinction matters.
The workflow is faster than replacement (one mask, four slider moves), completely non-destructive, and, this is the point, always produces a sky that actually exists at the property. You cannot accidentally mislead a buyer with a Lightroom Select Sky mask because you are grading the sky you already photographed. Push dehaze up to bring back the cirrus that was there but under-exposed, drop temperature by a few degrees to shift the cast from warm midday to clean daylight, lift saturation slightly. Nothing has been fabricated; the sky has been graded like the rest of the photo.
For any listing where the sky was decent but flat on the day, this is the right first move. It is faster, safer under the ACL, and the result usually looks more authentic than a swapped sky because the atmosphere, cloud shape and hue relationships already match the light on the foreground. The Imagen team’s Lightroom AI mask guide walks through the sequence in detail. Reach for full replacement only when there is genuinely no data to grade: a fully blown-out white sky, a flat grey with no cloud definition, or a shot where the campaign brief requires a specific blue-hour or dusk look.
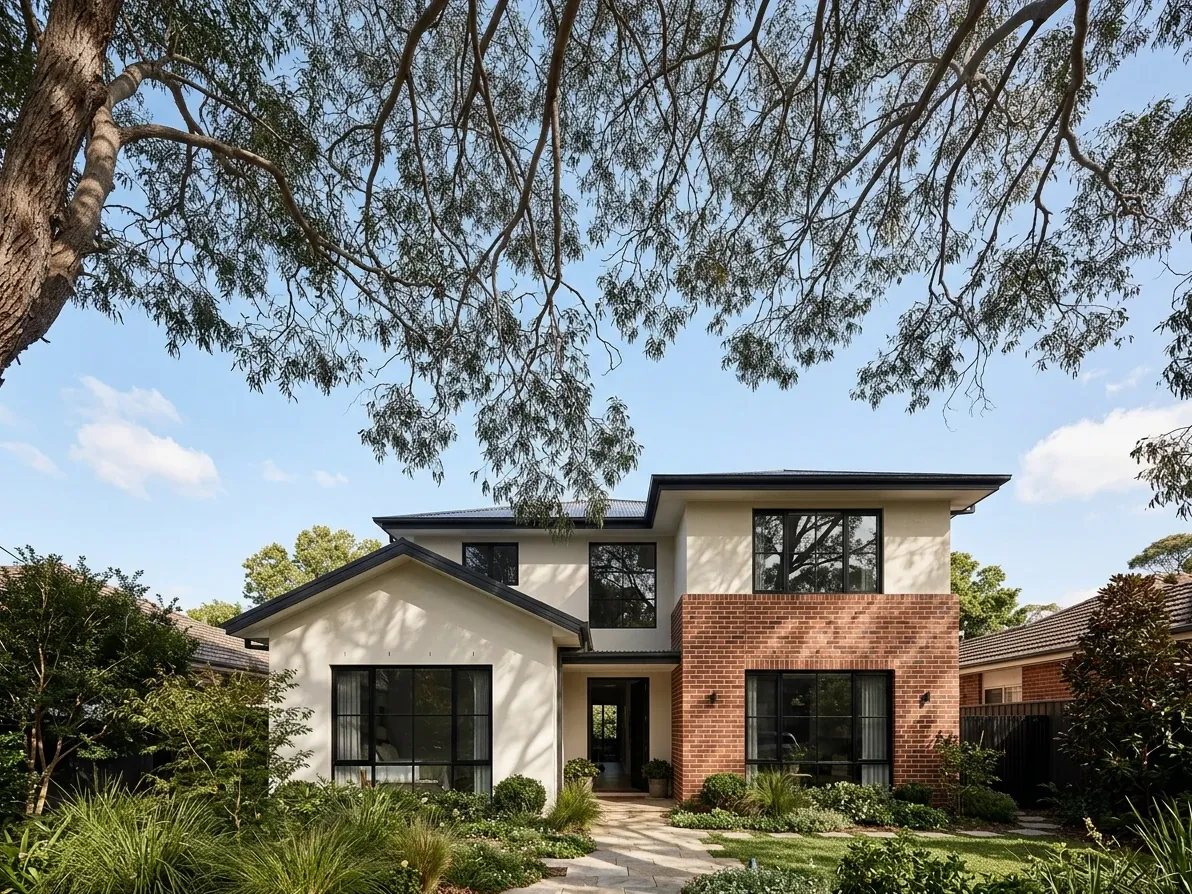
Fine tree canopy is where masking gets hard.
The AI tools built for property work
Beyond Adobe, three categories of AI tool have carved out a place in real estate sky work.
Luminar Neo Sky AI is the closest thing to a one-click Photoshop replacement, and it wins on two specific features. Its automatic scene-relight pushes the sky’s dominant hue into the foreground more convincingly than Photoshop’s Foreground Color Adjustment slider on default settings, so a warm sky produces a warm-scene composite without manual intervention. And Sky AI’s reflection generator handles water surfaces automatically: a swap over a home with a pool matches the sky in the pool reflection in the same operation. Photoshop’s own Sky Replacement does not do this, and the manual fix runs several extra minutes per photo. Luminar Neo is available as a one-off purchase (roughly A$130 at the time of writing, subject to promotional pricing) or a subscription.
Imagen AI integrates with Lightroom Classic and offers a Sky Replacement action specifically tuned for real estate. Imagen’s guide describes the workflow: apply the action inside Lightroom, adjust mask parameters if needed, and export. The advantage over Luminar is workflow integration. If the shoot is already being processed in Lightroom Classic, staying in one program is faster than shipping files out and back through a separate editor.
Property-specialist services run the same class of AI models with (usually) a trained human retoucher on the harder edge cases. BoxBrownie prices sky replacement and day-to-dusk conversion at US$4 to US$5 per image, or roughly A$6.50 to A$8 depending on the exchange rate at the time. Autoenhance.ai offers a similar service in the same price band. The advantage of these platforms for volume work is turnaround: submit a batch of twenty listing photos at end of day, receive them the next morning, price-locked. The disadvantage is a lack of last-mile creative control: a photographer who wants a specific sky, or who wants to adjust the swap after seeing it, is quicker doing it in-house.
Photoshop 2026’s multi-model support narrows the gap between Adobe and the specialist tools. Firefly Image 4 remains the default, but Google Gemini 3 and Black Forest Labs FLUX.2 Pro can be selected for sky generation, and the FLUX model in particular produces photorealistic cirrus and cumulus textures that older Firefly versions struggled with. For a photographer already inside Photoshop for other retouching work, the multi-model option removes one of the main reasons to go outside for a specific sky look.
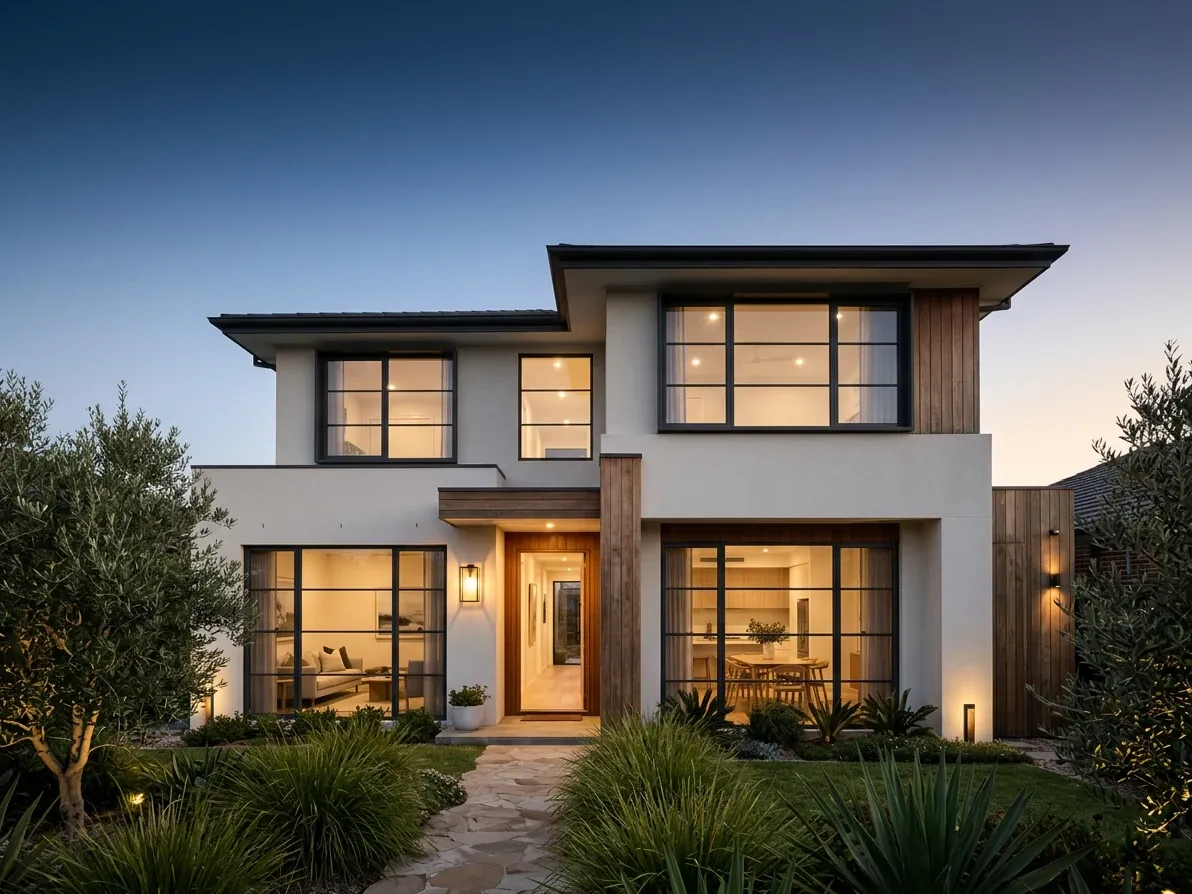
Warm windows against a cool sky reads instantly as premium after dark.
Day-to-dusk conversion: a bigger swap than a sky change
Virtual twilight (also called day-to-dusk conversion) is often lumped in with sky replacement but is a different exercise. A sky swap changes only the sky. A dusk conversion changes the sky, the ambient scene lighting, the window interior lighting, the pool and pond lighting, the driveway and porch lantern glow, and often the shadow lengths on the ground.
The commercial case is that dusk shots earn the highest click-through rate on portal thumbnails for premium listings: the warm-window-with-cool-sky composition reads immediately as premium after-dark. Reimagine Home’s day-to-dusk playbook walks through the specific interventions. Replace the sky with a graduated blue-hour gradient darker at zenith. Warm the window interiors 500 to 800 kelvin. Add soft pool and landscape accents, and lift the porch lanterns and any other practical exterior lights. Cool the shadows to match the sky, warm the highlights facing the (now-implied) low sun, and check the shadows still fall from a consistent direction.
Every AI platform that offers sky replacement also offers dusk conversion, usually as a separate service. Pricing is similar to sky replacement (BoxBrownie charges the same US$4 to US$5 for both). The manual version in Photoshop runs fifteen to twenty-five minutes for a good result and forty-five minutes plus for a portfolio-standard finish. Compared against booking a dedicated twilight shoot, priced at A$400 to A$800 for an Australian real estate shoot per the Sky Visuals pricing guide, the digital conversion is the obvious economic choice for most listings.
The legal line applies here too. A dusk conversion on a property that a buyer would not actually experience as a warm-window-lit home at dusk, the electricity was cut, the interior lights do not work, the pool is empty, is misleading in the same way an invented sky is. A conversion that shows the home as it would naturally look at that time of day is not.
Free browser tools for the one-off swap
For a photographer processing a full day’s shoot, Photoshop or Lightroom or Luminar Neo is the answer. For an agent with a single listing photo where the sky is letting the shot down, the free browser tools are usually enough.
Pixlr’s Replace Sky runs entirely in the browser, is free at basic quality, and finishes a single swap in a couple of minutes. Canva’s photo editor offers a similar workflow with more design-tool integration; the sky-replacement quality is competitive with Pixlr on the free tier and better on Canva Pro. Snapedit and Fotor round out the browser-only options, each with their own sky preset library.
The trade-off is control. All four tools work well for a straightforward roof-and-sky boundary. All four struggle with complex tree canopies, power lines and reflective glass. And none offer the foreground-recolour or scene-relight step that separates a good swap from a pasted-on one. For a single photo where the fault is a blank white sky above a clean modern facade, they are perfectly adequate. For a hero shot with a fussy foreground, the paid tools stay worth their money.
Outsourcing vs DIY: what it costs per image in Australia
The economics of sky replacement break into three clear tiers for the Australian market.
In-house DIY costs whatever the software subscription costs, spread across the volume. Adobe Photoshop and Lightroom via Creative Cloud Photography currently runs A$14.29 per month, which is negligible per image once volume is up. Luminar Neo is a one-time purchase (or optional subscription). Free browser tools cost nothing per image but cost time. For any photographer or agent processing more than a handful of listings a month, in-house DIY is the cheapest per-photo option, and it stays the fastest once a house-style preset library is set up.
Property-specialist AI services sit in a mid-tier for cost and turnaround. BoxBrownie’s US$4 to US$5 per image (A$6.50 to A$8) buys a sky replacement with a professional finish and a batch turnaround under twenty-four hours. Autoenhance.ai and Stager AI are in the same range. The value case here is time. The photographer or the agent is off-loading not the money so much as the fifteen minutes per photo it would take to do it in-house.
Australian retouching studios with a manual finish typically charge around A$10 to A$15 per image for a sky replacement done to hero-image standard, or bundle it into a per-shoot editing package. Some Melbourne and Sydney real estate photographers include the swap as standard rather than as an add-on, which reflects a competitive metro market where 99% of agents expect it as standard.
Alongside these, the shoot-versus-edit trade-off is worth naming. A standard Australian real estate shoot runs A$150 to A$300; a booked twilight shoot runs A$400 to A$800; a drone shoot the same, per Sky Visuals’ pricing survey. The digital equivalents (sky replacement, dusk conversion) at A$6 to A$8 per image are the reason the digital services scaled to where they now sit: the maths on a re-shoot versus an edit is not close, and the same argument applies across the broader photo-editing decisions an agent is already making.
For photographers running volume, the workflow that pays back is Lightroom plus Photoshop’s built-in tool for most shots, with a manual pass reserved for the hero. For agents commissioning shoots, the sensible question to ask the photographer is which of the four common enhancements (sky, grass, dusk, object removal) are included in the base rate and which are billed separately. Most photographers now include the sky swap, because the market expects it.
Frequently asked questions
Is sky replacement legal for Australian real estate photos in 2026?
Yes, when the swapped sky reflects the weather the property normally sits under. A grey-to-blue swap on a home in a temperate region is industry standard and not misleading under the Australian Consumer Law. A swap that implies weather the property does not experience, persistent clear sky over a known overcast region, an aspirational dusk on a home never photographed at dusk, or a sky used to paint over a communications tower or neighbouring building, crosses into misleading conduct and carries maximum penalties of $220,000 for an individual and $1.1 million for a company under the ACL, plus state-specific penalties in NSW and Queensland.
Do I need to disclose that a sky was replaced?
For property sales, no. The Australian Consumer Law obligation is not a disclosure rule but a prohibition on misleading conduct: a realistic swap does not need disclosing because it does not mislead. For NSW rental advertising under the new Residential Tenancies Amendment (Protection of Personal Information) Bill 2025, digital alterations that would mislead a prospective tenant do trigger disclosure, and a sky change that hides background infrastructure specifically falls under the new regime. Best practice is to swap only what a buyer would meet on inspection anyway, and no disclosure question arises.
Is Photoshop’s built-in Sky Replacement good enough for real estate work?
For roughly 80% of listing photos, yes. Edit > Sky Replacement finishes a competent swap in about thirty seconds with the sliders exposed in the dialog. The hero image with fine tree branches, reflective glass, power lines or complex chimneys tends to need a manual pass in the Select Sky workflow to reach portfolio quality. For the standard suburban exterior with a clean roofline against featureless sky, the built-in tool is the right tool.
Can I use Pixlr, Canva or another free tool for sky replacement?
Yes, for a single photo with a simple foreground. Pixlr Replace Sky and Canva’s photo editor both handle a straightforward roof-and-sky swap in a couple of minutes and produce a serviceable result for social or portal use. Where free tools struggle is complex foliage, glass reflections, and the foreground-recolour step that ties the new sky to the scene. For a photographer processing volume, the paid tools save enough time per photo to pay for themselves quickly.
What does sky replacement cost per photo in Australia?
In-house DIY through Photoshop, Lightroom or Luminar Neo is effectively free per photo once the software subscription is spread across volume. Property-specialist AI services such as BoxBrownie or Autoenhance.ai charge around A$6.50 to A$8 per image (US$4 to US$5). Australian retouching studios typically charge A$10 to A$15 per image for a manual-finish hero-standard swap, and some Melbourne and Sydney photographers include the swap as standard rather than as an add-on because the market expects it.
When should I skip sky replacement entirely?
When the sky is already good on the day, use a Lightroom Select Sky mask to enhance what is there rather than replace. When the campaign is for a legitimately overcast region, choose a soft grey with cloud definition rather than clean blue so the shot represents what the buyer will meet on inspection. On any interior looking through a window, leave the exterior sky alone: the mask failure risk exceeds the aesthetic gain.